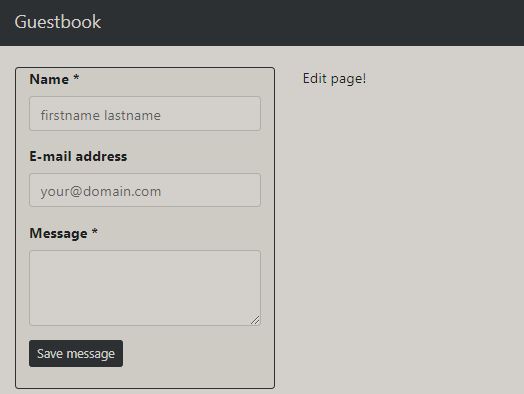
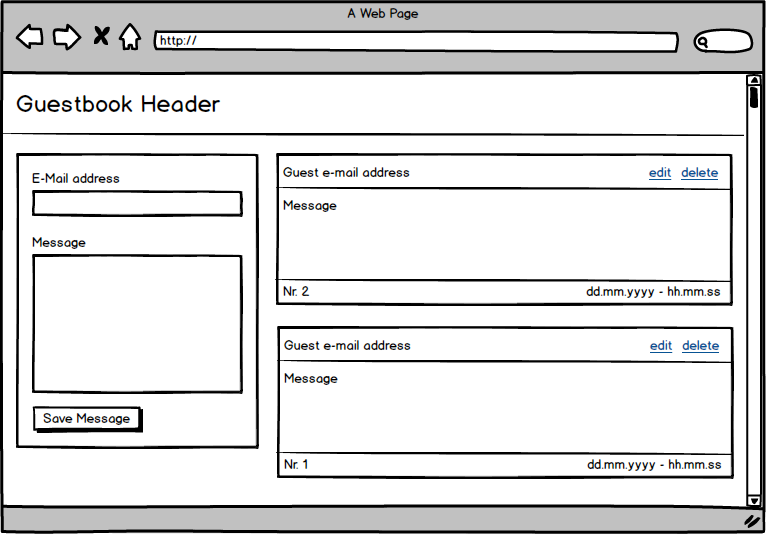
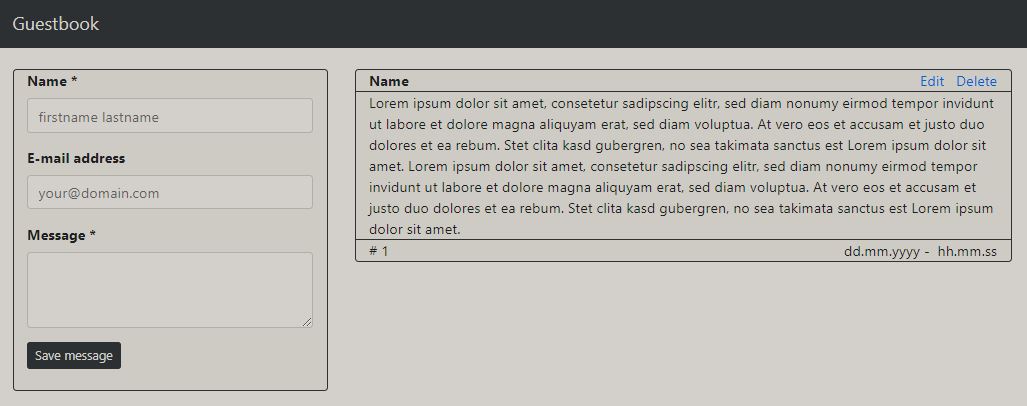
This tutorial shows how the following guestbook application can be implemented:
The following applications are required:
Installing Angular CLI
npm install -g @angular/cli
Generate new project (guestbook)
ng new guestbook
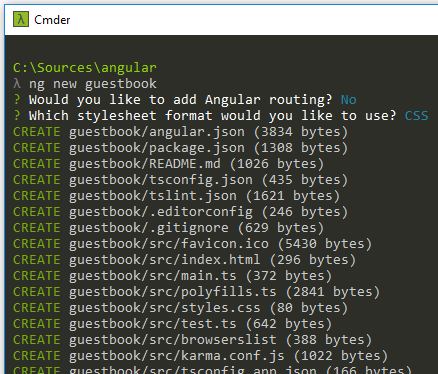
Install the Bootstrap library via the npm package manager:
npm install –save bootstrap
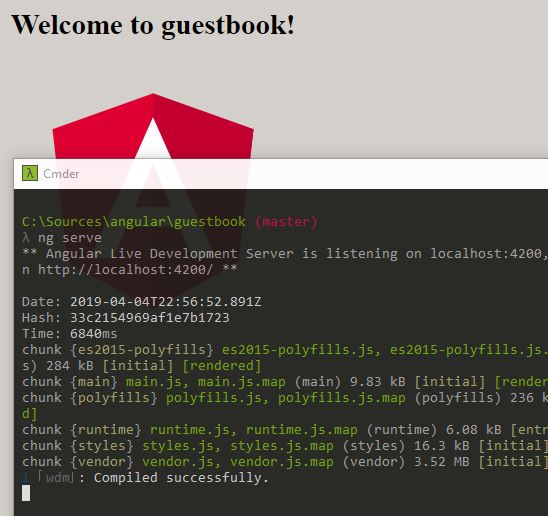
Start developer server to test the application:
ng serve
The application is then available at the following address:
http://localhost:4200/
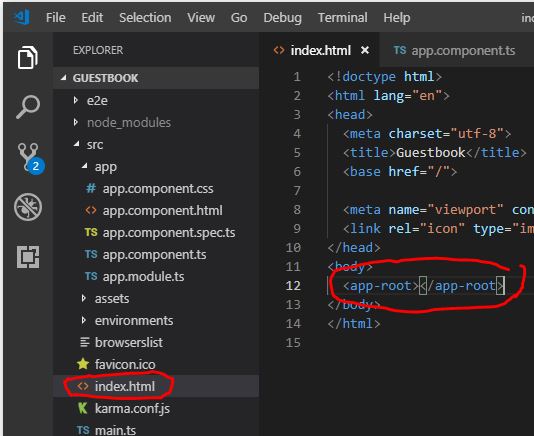
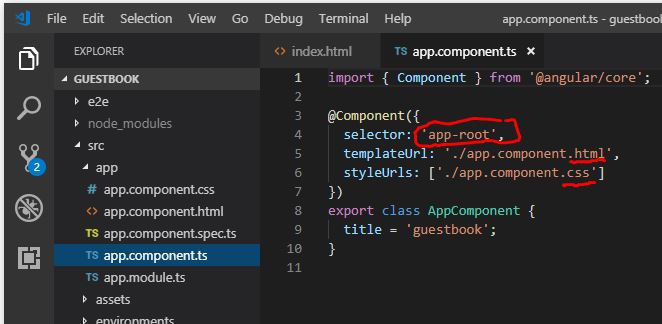
Project import within Visual Studio Code. As you can see here, an
With the
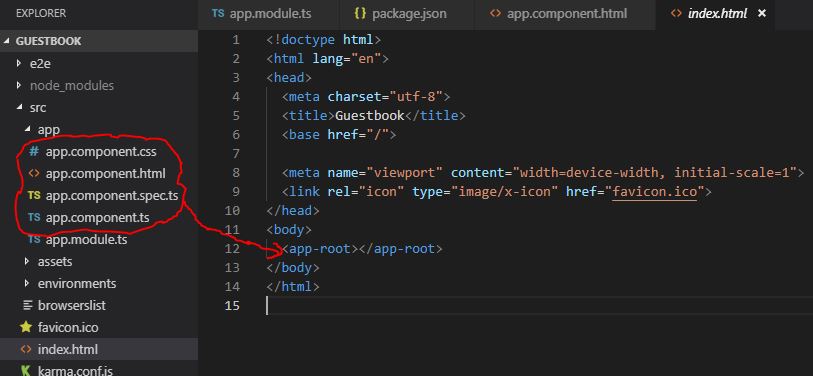
The content of the TypeScript file ‘app.component.spec.ts’ will later be rendered as JavaScript in place of the tag.
TypeScript is a programming language developed by Microsoft based on proposals for the future ECMAScript-6 standard. Language constructs from TypeScript, such as classes, inheritance, modules, anonymous functions and generics, were also adopted in ECMAScript 6. The TypeScript compiler developed by Microsoft compiles TypeScript code to ECMA Script 3 (ES3), optionally to ECMA Script 5 (ES5). Any JavaScript code is also valid TypeScript code, so common JavaScript libraries (such as jQuery or AngularJS) can also be used in TypeScript. [wikipedia]
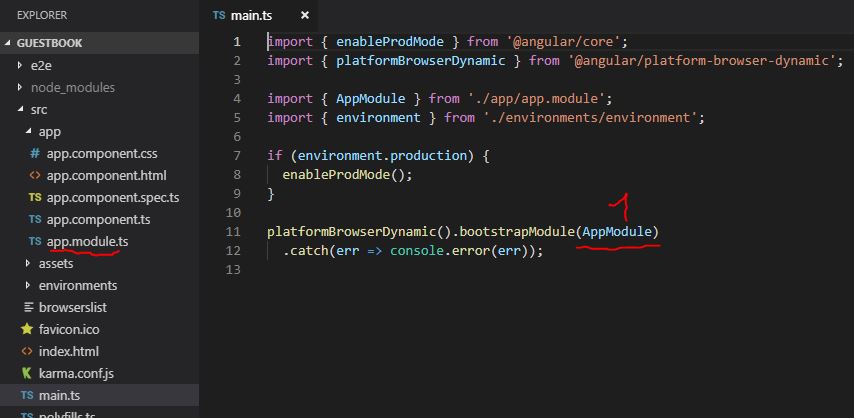
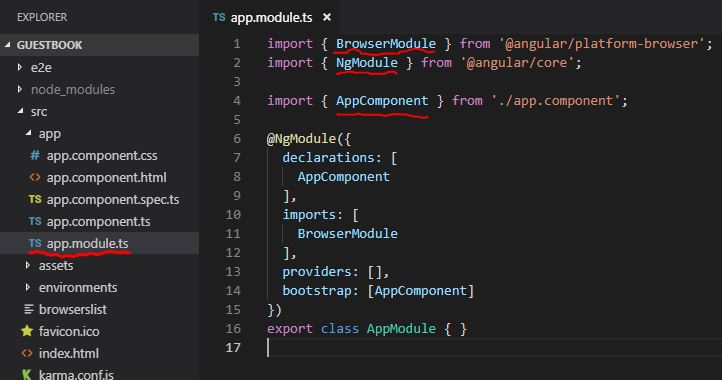
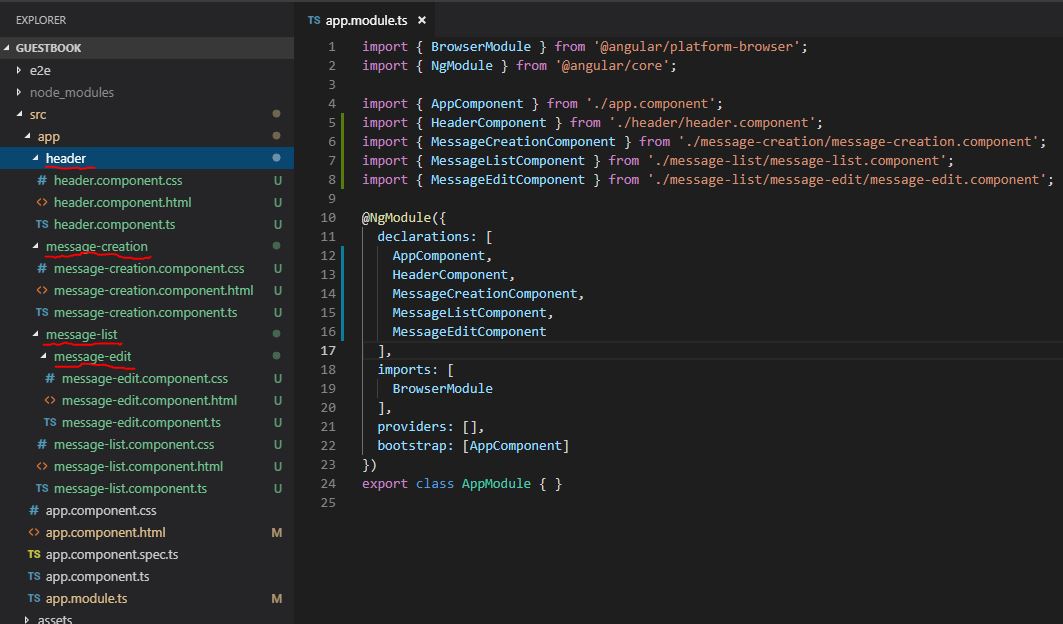
In addition to the configuration file, an overview of all used modules (NgModules) or functions is available in ‘app.modules.ts’.
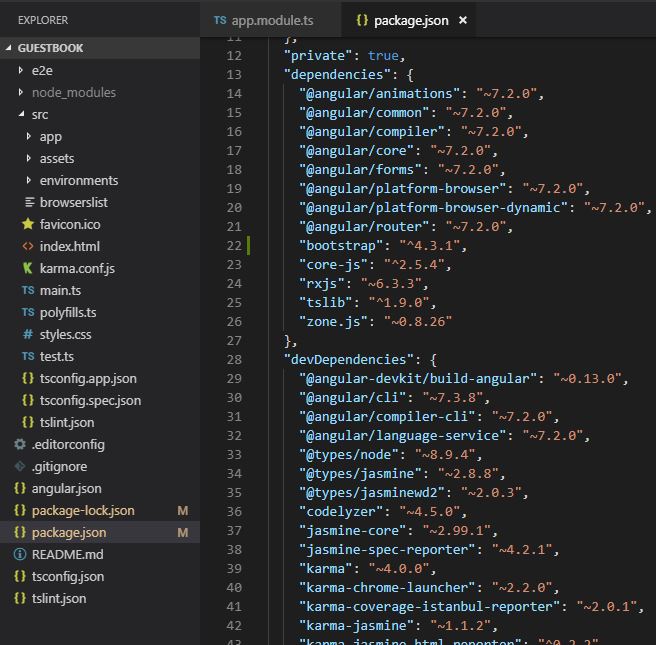
The required packages (dependencies) can be found in ‘package.json’.
The entire application is started by the file ‘main.ts’. This file is executed first.
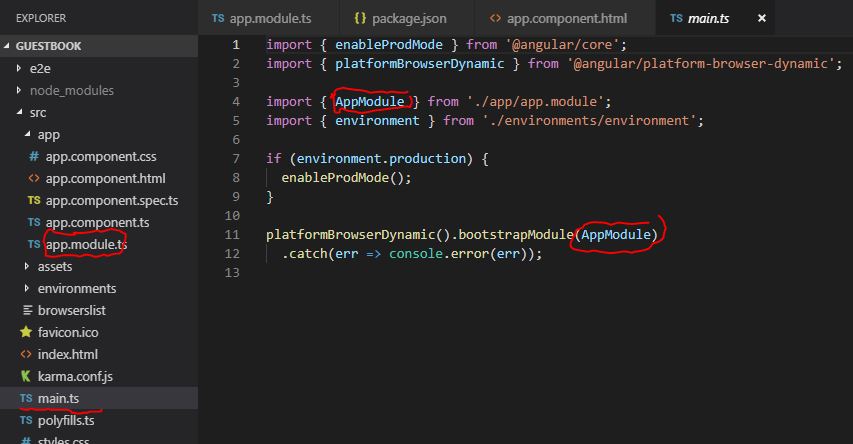
Sequence of steps:
- Load ‘AppModule’
- Load all ‘AppComponent’
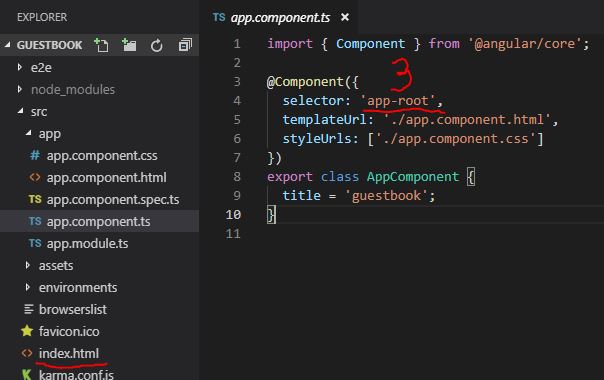
- Inject the components as ‘app-root’ tag within index.html

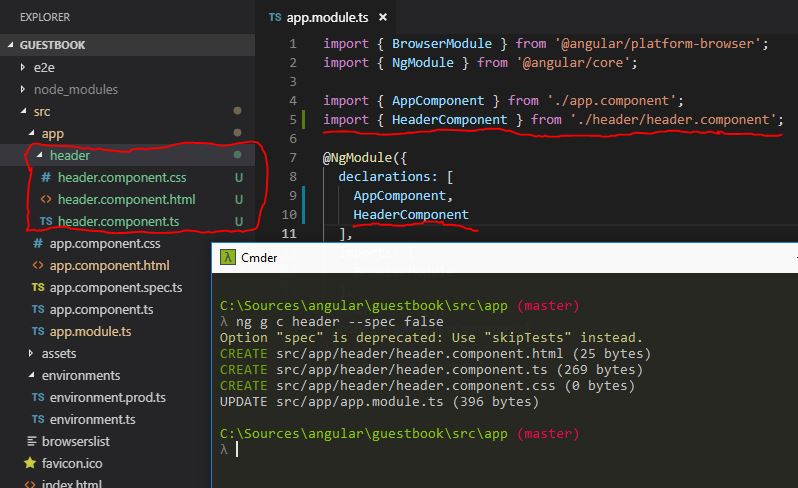
A new component can be created with the following command:
ng generate component name
or
ng g c name
To implement the planned application, the following components are needed:
- Root component
- Header component
- Message creation component
- Message list component
- Message edit component
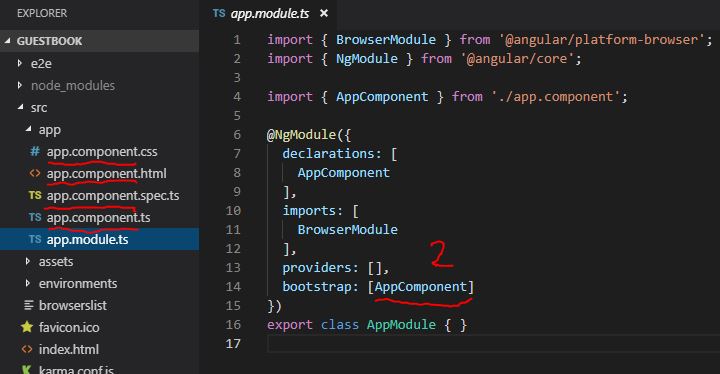
After creating the components, they are registered or declared under @NgModule. However, the components are not specified under bootstrap. Bootstrap refers to the root component.
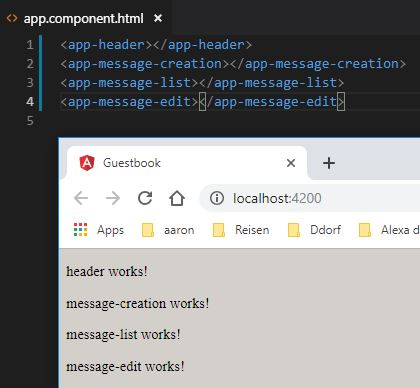
The created components can be tested using the corresponding tags:
To implement the UI, we will use Bootstrap:
npm install –save bootstrap
The Bootstrap CSS can then be imported in ‘angular.json’:
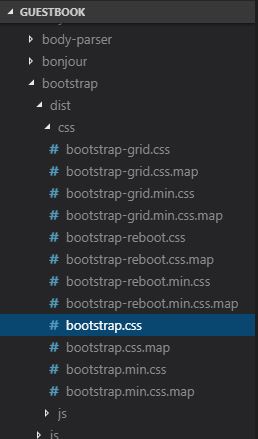

I had to restart the server afterwards.
A Bootstrap page can look like this, for example:
https://jsfiddle.net/netperformance/a6qwk8bm/
Within the project, the pages are structured or nested as follows:
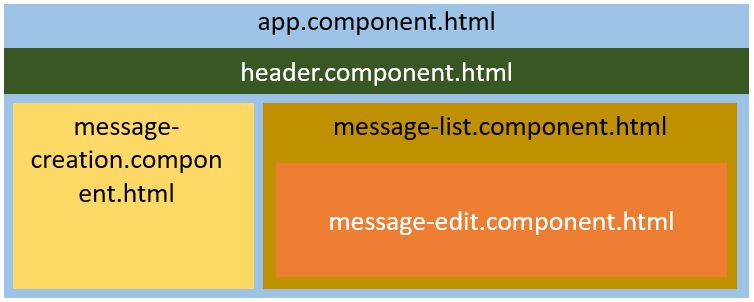
The source codes of the individual components can be found here:
- app.component.html
- header.component.html
- message-creation.component.html
- message-list.component.html
- message-edit.component.html
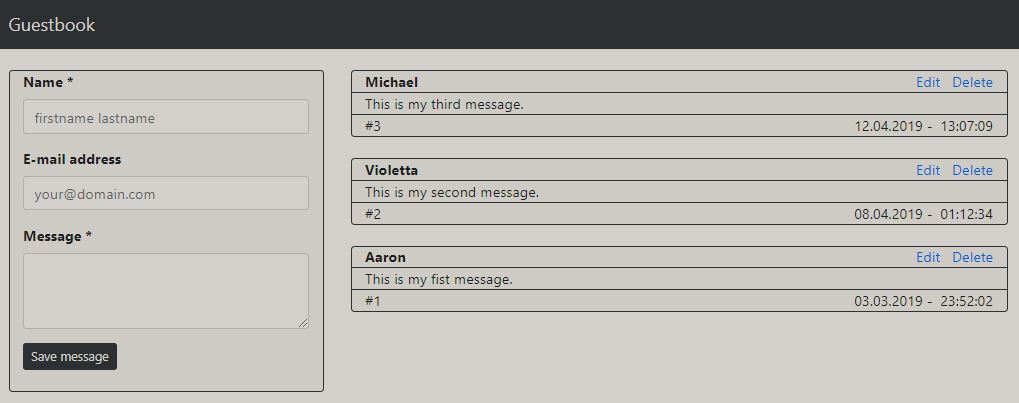
As you can see in the next image, I have added three example data sets (messages):
To create the data, we first need to create a message class via
TypoScript, see message.model.ts
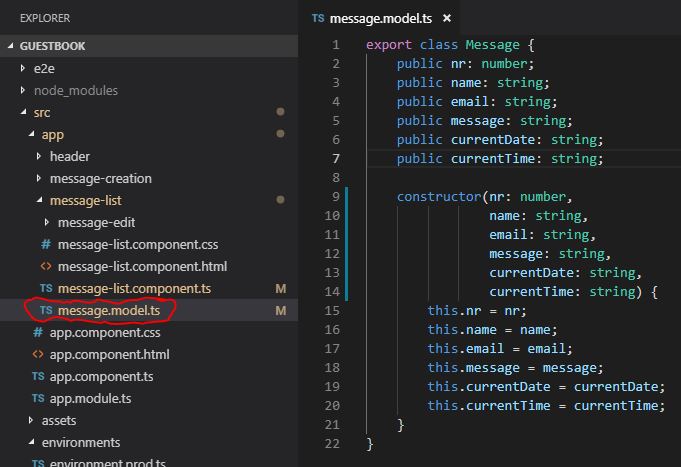
Then, within the list of messages (message-list.component.ts), we can create the corresponding objects or instances of the ‘Message’ class:
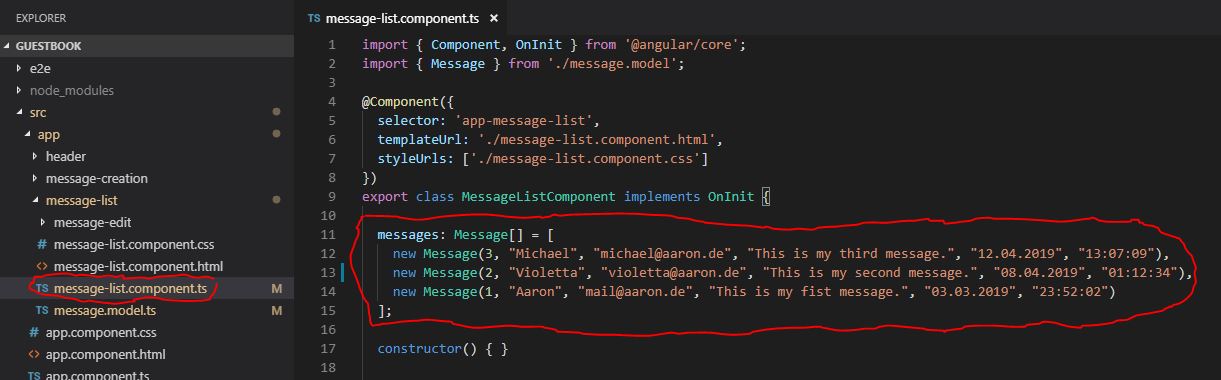
For rendering or reading the ‘Message[]’ array, we can use the Angular directive ‘ngFor’ within ‘message-list.component.html’. Using the directives is enabled by importing ‘BrowserModule’ within ‘NgModules’:

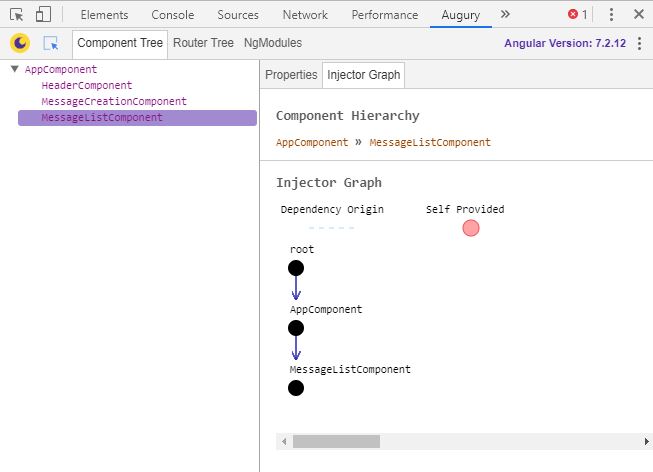
We can also easily display the structure of the page and the created messages using the Augury application:

Next, I want to replace the list of messages on the right side with ‘message-edit.component.html’ when clicking the ’edit’ link. To do this, we first need to enable ‘routing’:
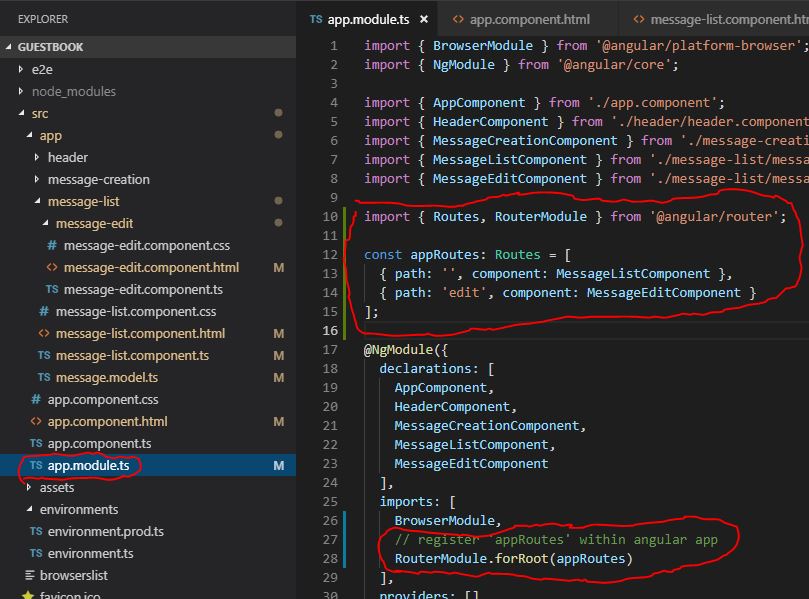
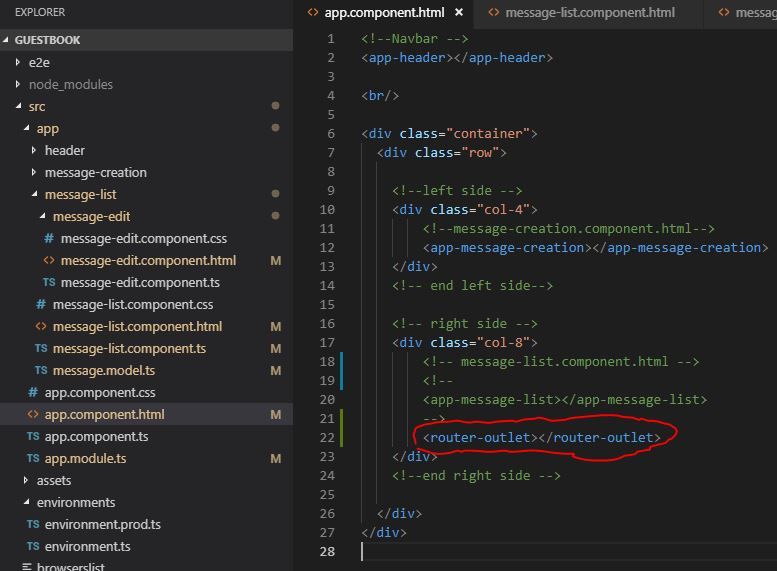
We can then specify which area we want to use routing for using ‘
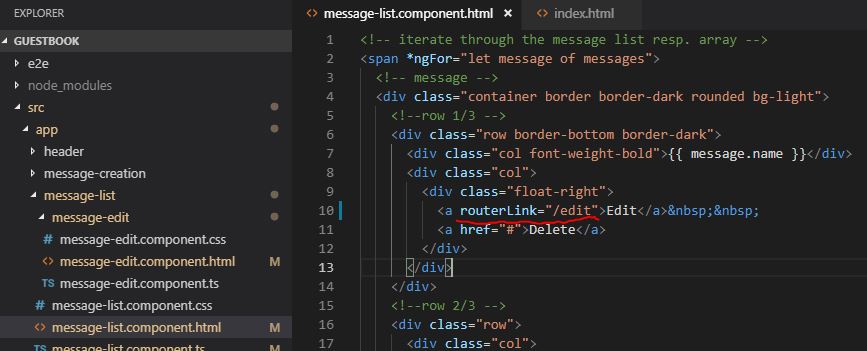
Now adjust the ’edit’ link accordingly:
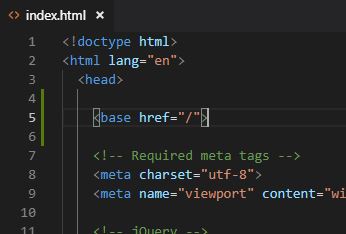
Finally, we need to specify the ‘base href’ within index.html:
The result looks like this: