Artificial intelligence has acquired the ability to create detailed and complex images from pure text descriptions. The technological foundation for this comprises deep AI models that function as digital engines for image generation. They translate written concepts into visual data and generate entirely new graphics on that basis. To precisely control the image generation, users need an appropriate user interface. This is where ComfyUI comes into play. ComfyUI is a flexible and powerful graphical interface designed for working with a variety of AI models. Unlike other programs that hide their processes behind simple menus, ComfyUI uses a modular node-based approach. Each step of image generation, from selecting the model to the finished image, is represented as an individual building block. The user visually connects these blocks and thereby constructs the entire workflow themselves. This method offers transparency and control over the entire generation process and enables users to steer the functioning of the underlying AI down to the smallest detail.


Installation
You can download ComfyUI here: Link
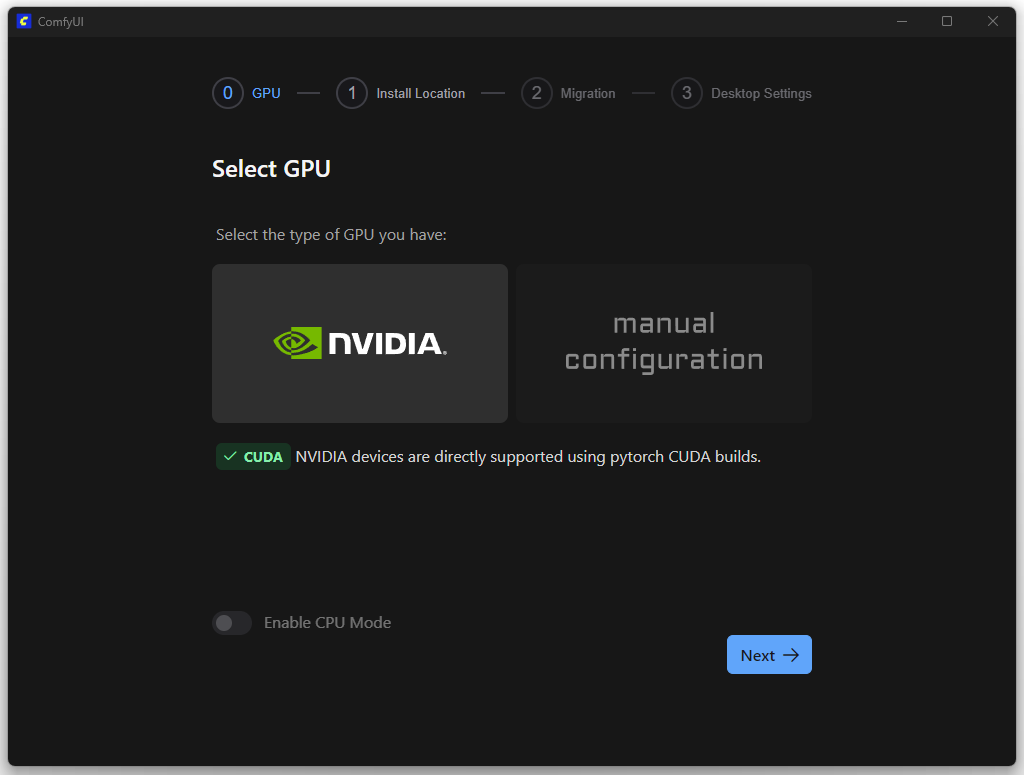
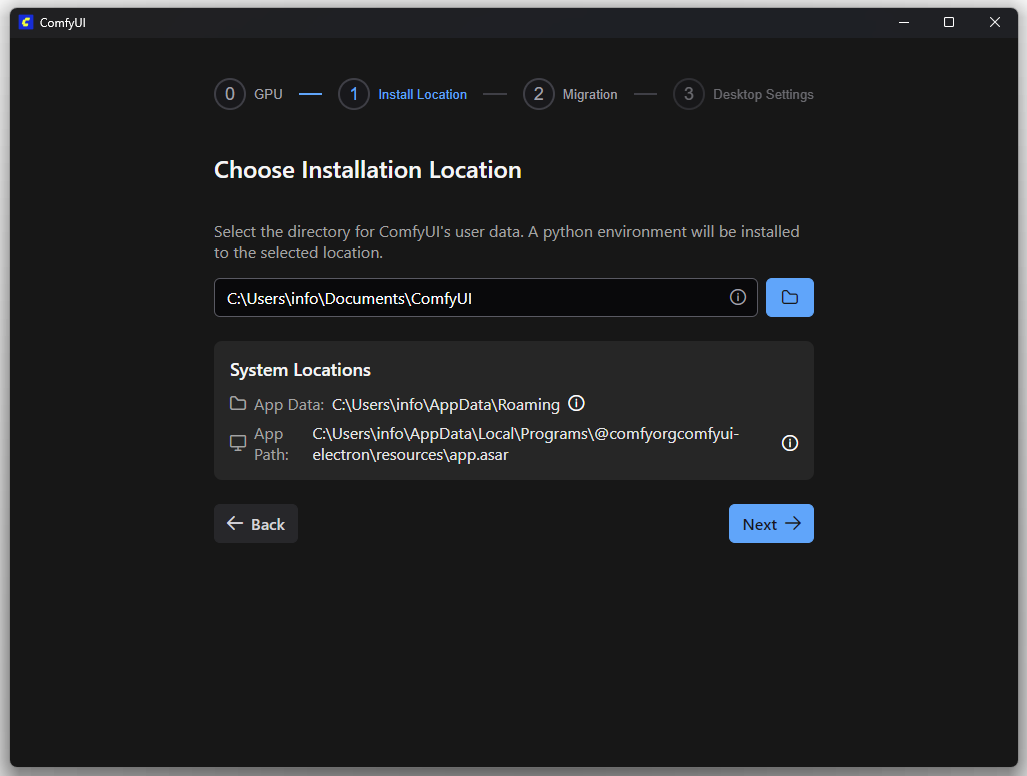
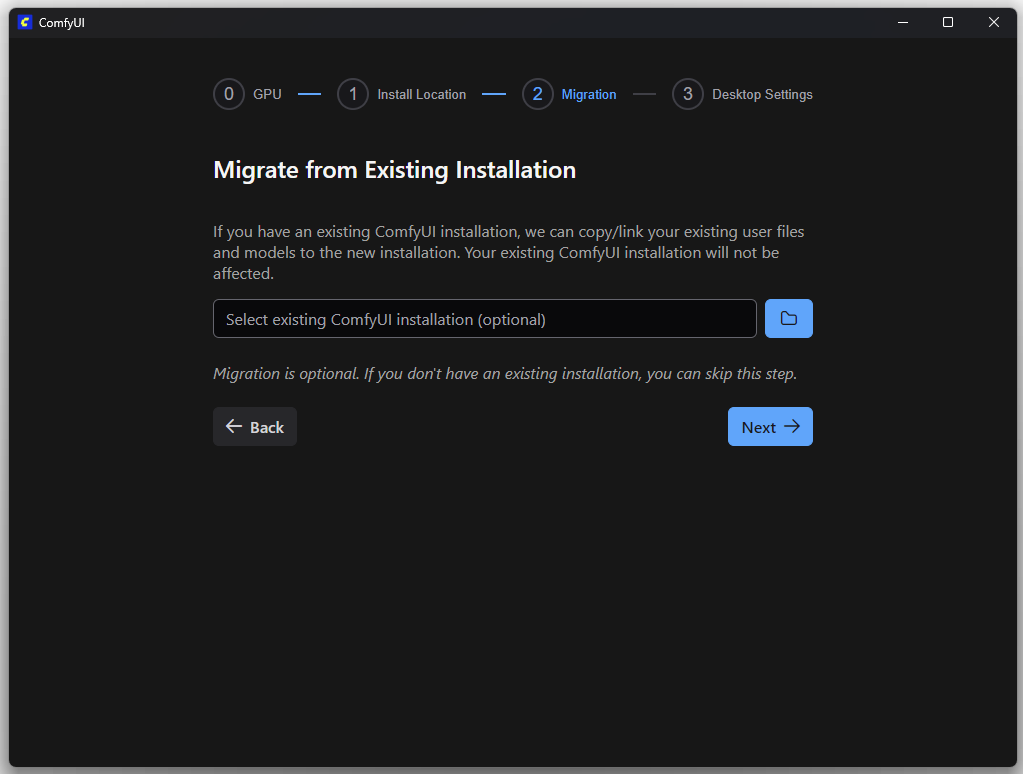
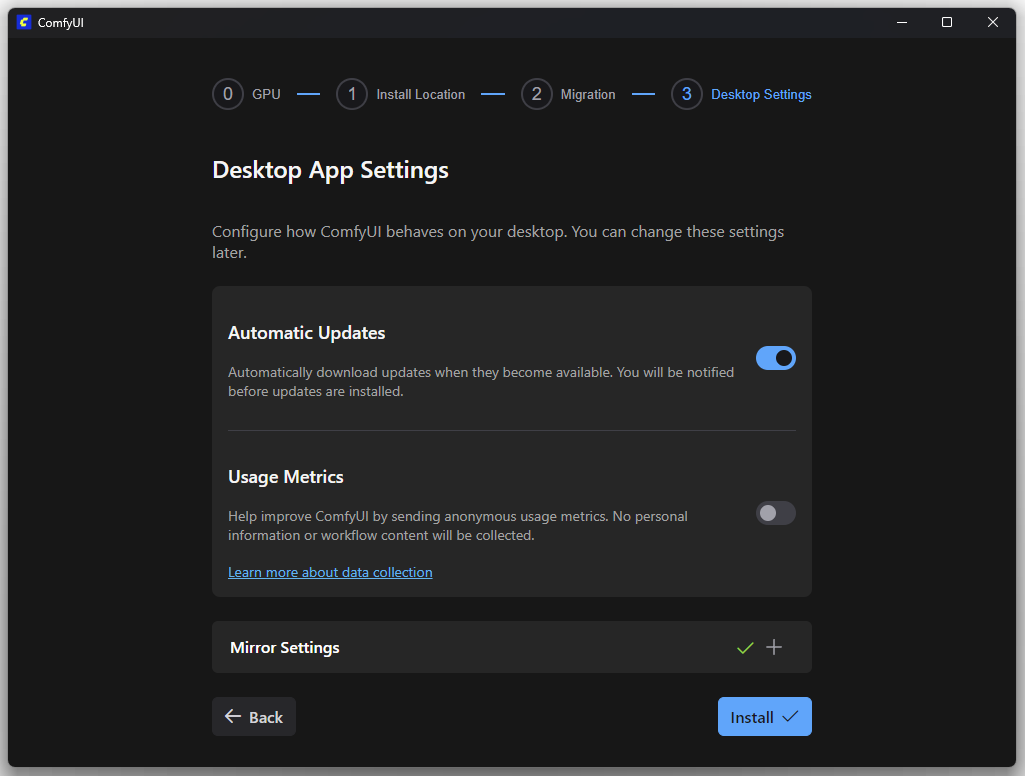
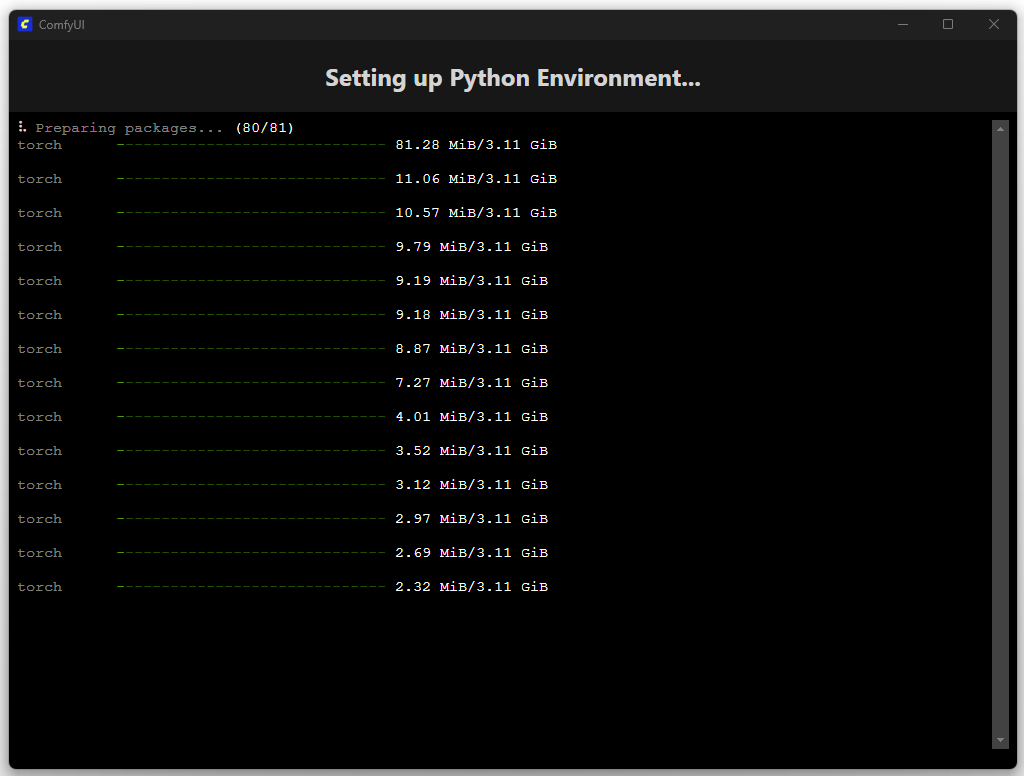
The following screenshots show the installation process.
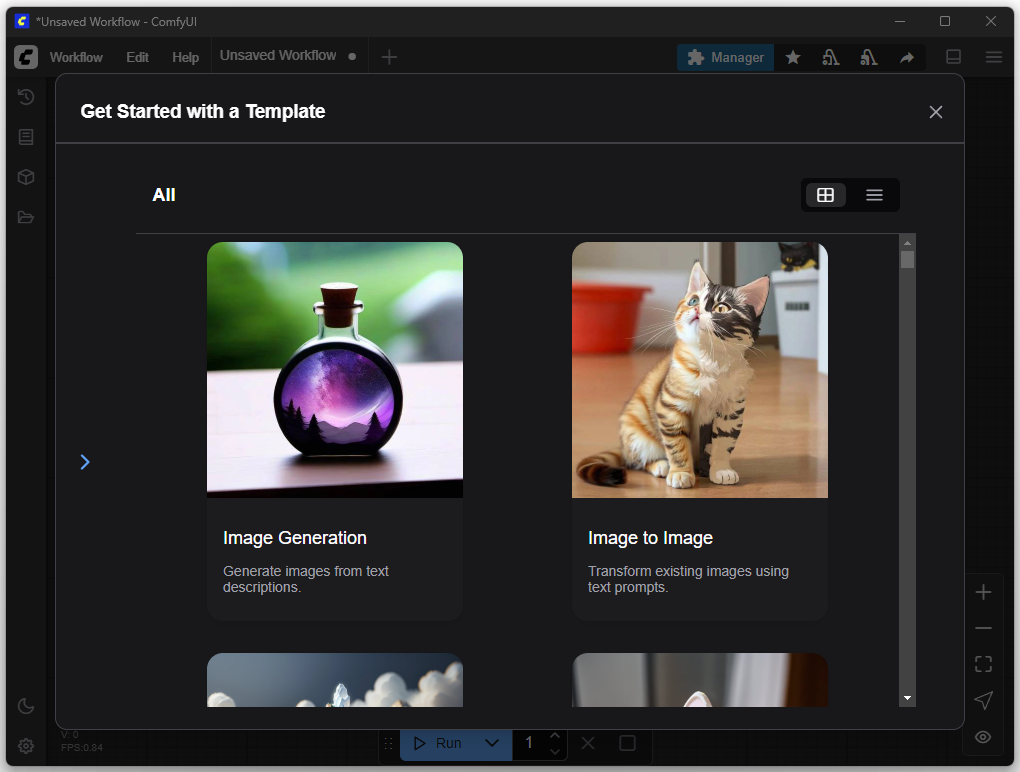
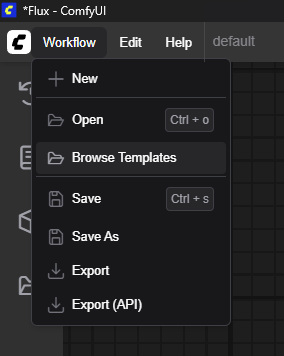
On this ComfyUI screen, after installation, you can access predefined templates to quickly start common workflows. The “Get Started with a Template” window provides ready-to-use configurations for this purpose. One example is the “Image Generation” option, which corresponds to a Text-to-Image Workflow. With this template, the user can generate images directly from a text description without having to manually arrange the individual process steps (nodes) in the editor.
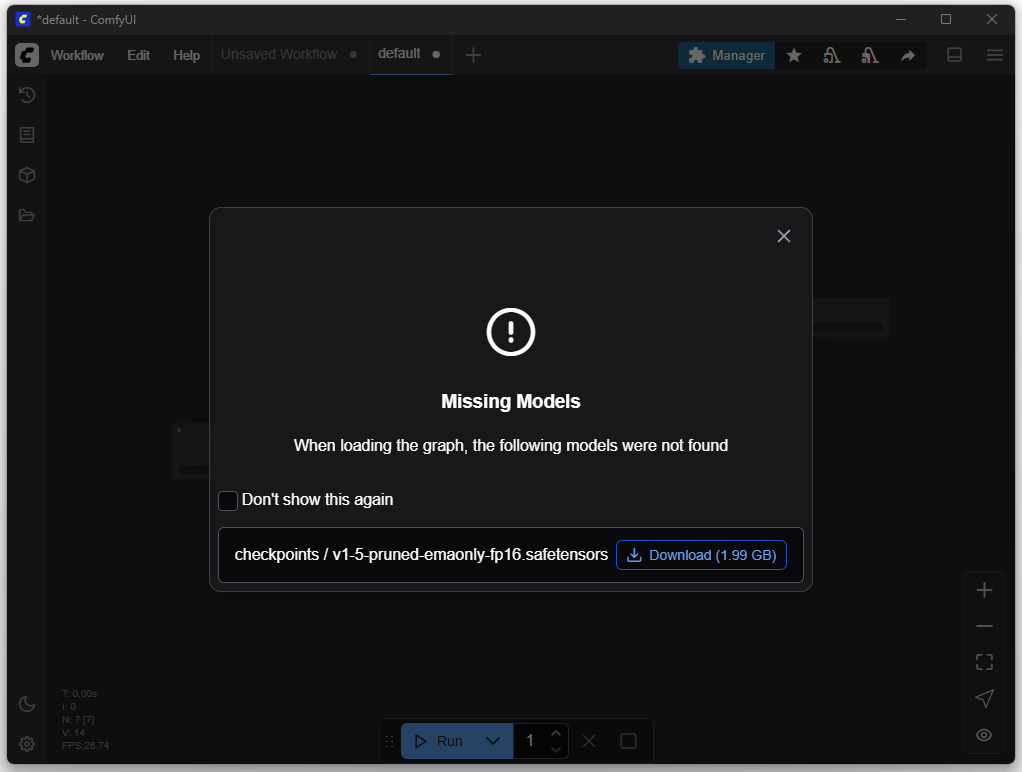
The appropriate models are needed for image creation. You can download these in the next step.
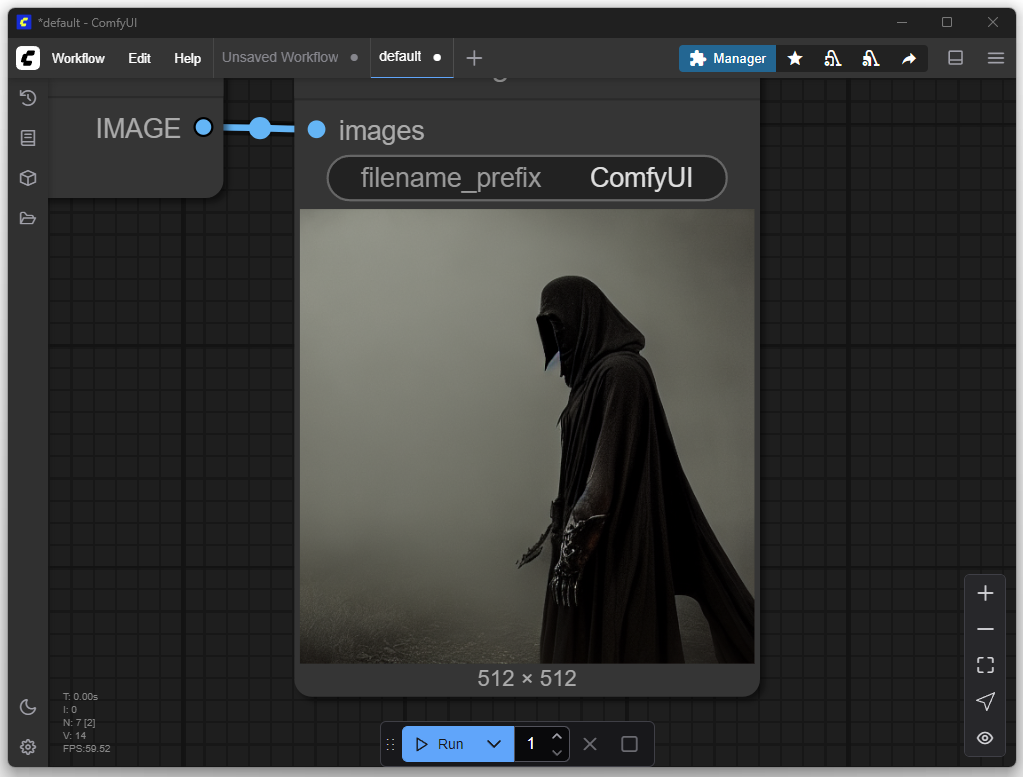
First Image (Default Settings)
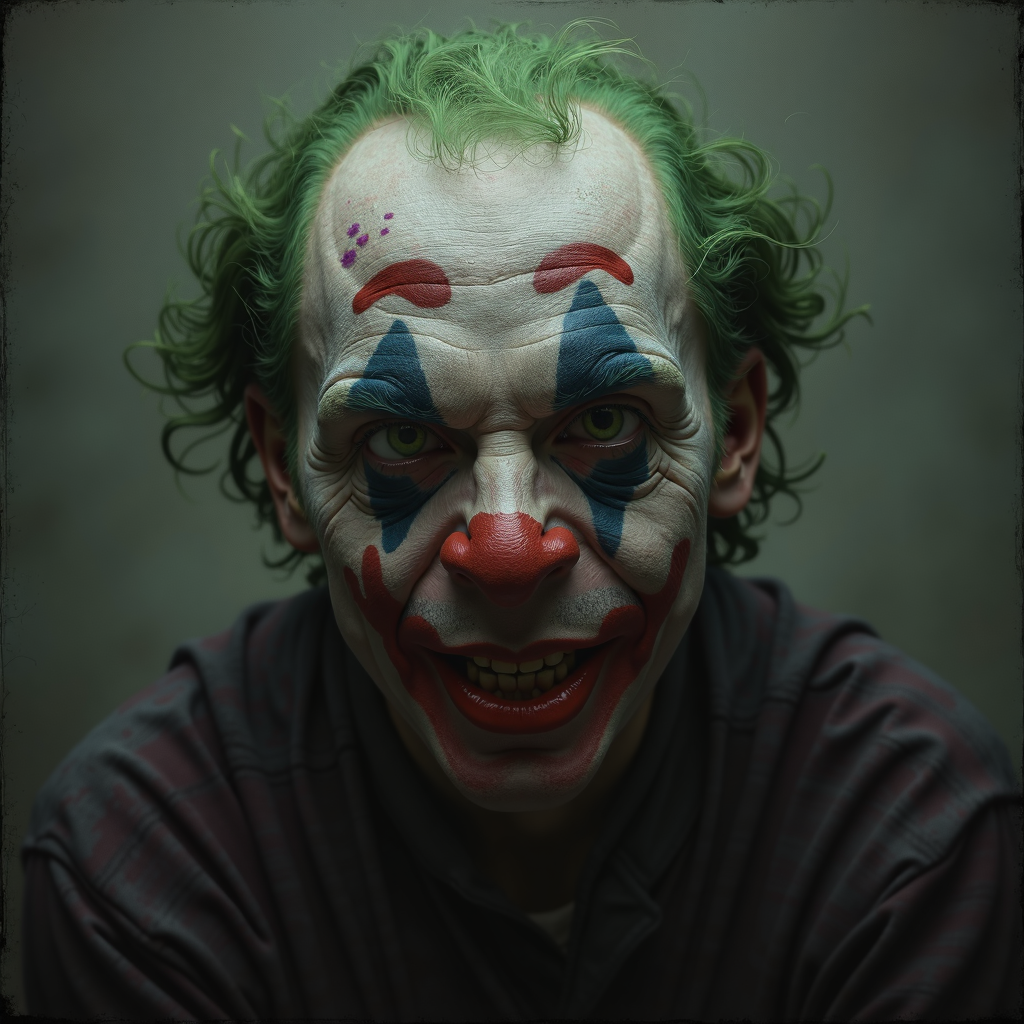
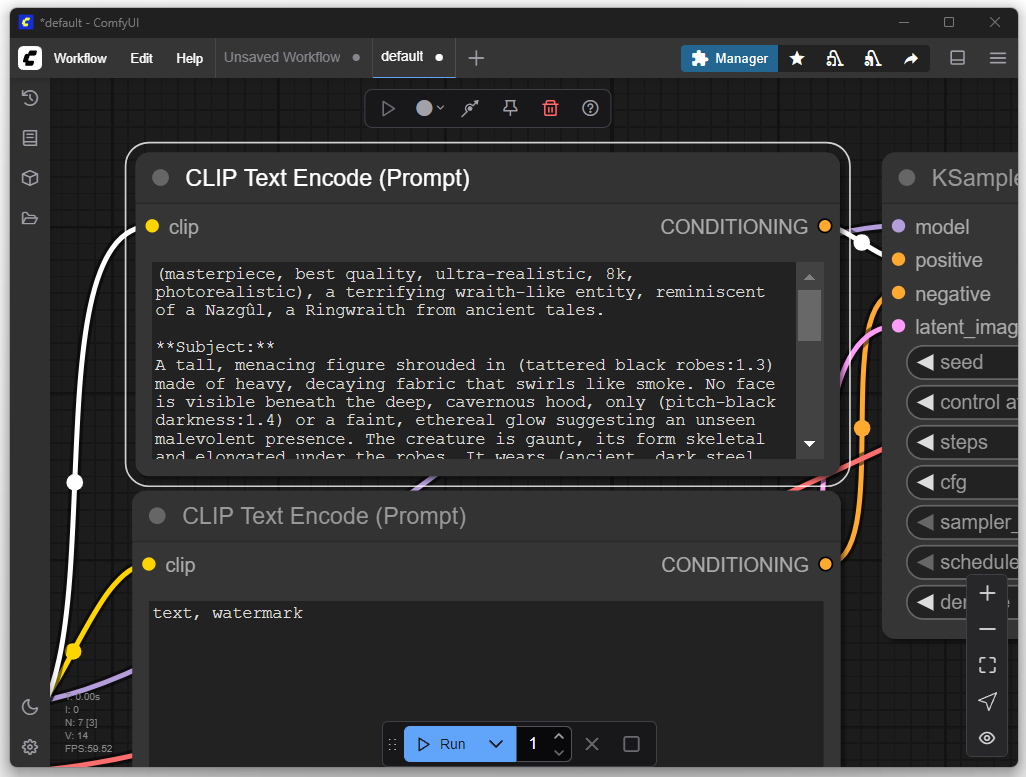
For the first attempt, I only adjusted my desired image or the prompt. The goal was to produce a depiction of a Nazgûl from The Lord of the Rings. In the default settings, you can enter a positive and a negative prompt. Positive prompts describe features that should be included in the image, such as style, subject, or composition. Negative prompts, on the other hand, define what should be avoided in the image, such as certain colors, text, watermarks, or unwanted details.
Adding More Models
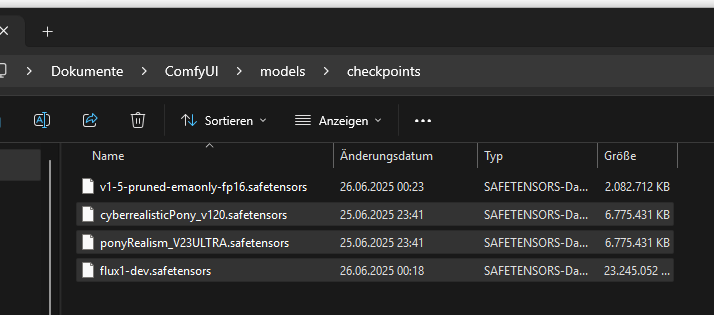
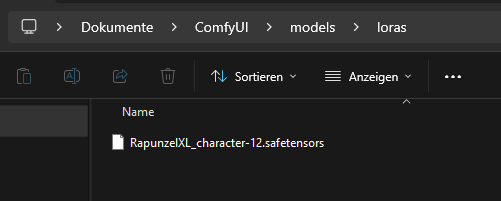
You can find the previously installed models inside the models folder:
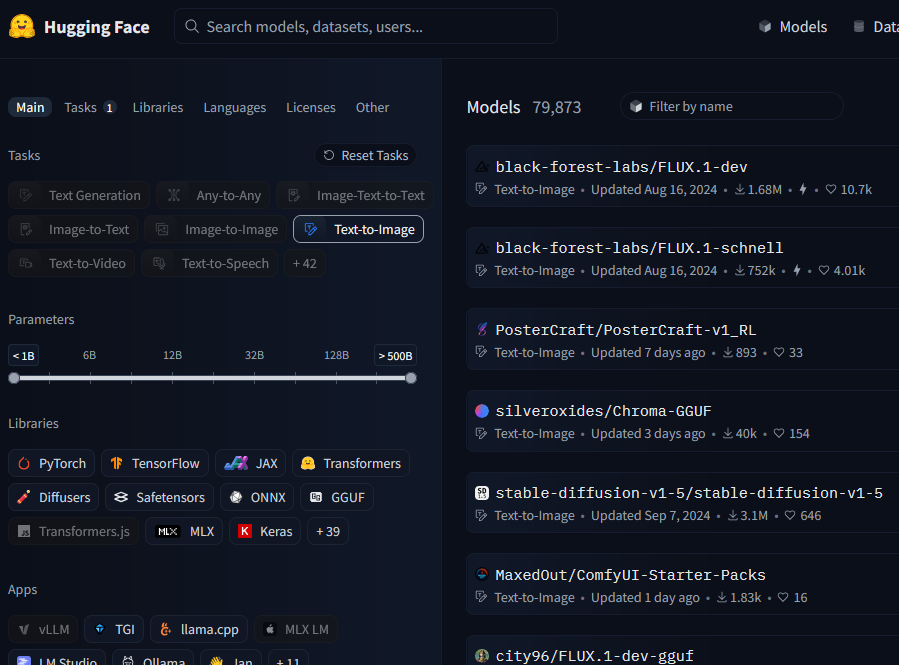
The strength of ComfyUI lies in its flexible handling of different models, which enables high adaptability in image generation. Platforms like Civitai and Hugging Face offer numerous powerful models that can be easily integrated into existing workflows.
Civitai and Hugging Face provide a wide selection of specialized LoRA and checkpoint models maintained and rated by the community. This facilitates the targeted selection of suitable models for specific styles or subjects

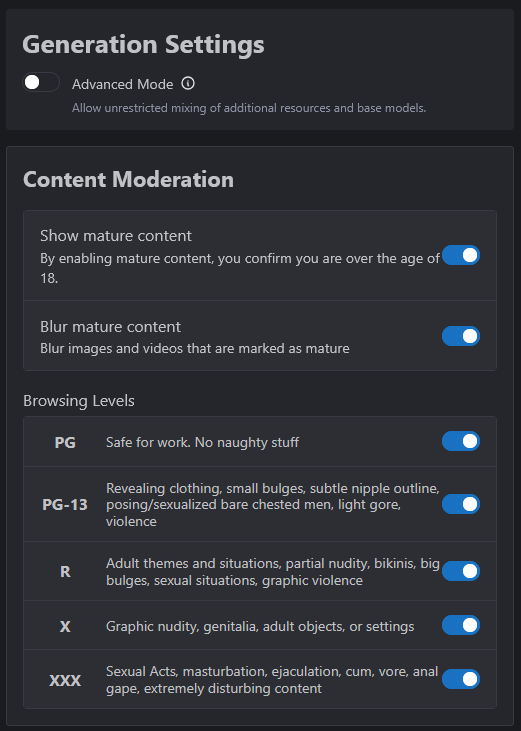
Adult content must first be enabled under CIVITAI:
Download of the Flux model from Hugging Face:
In this example, I copied the two models “CyberRealistic Pony” and “Pony Realism” into the designated folder. The Flux model from Hugging Face will be used in a later step and must be moved to a different folder.
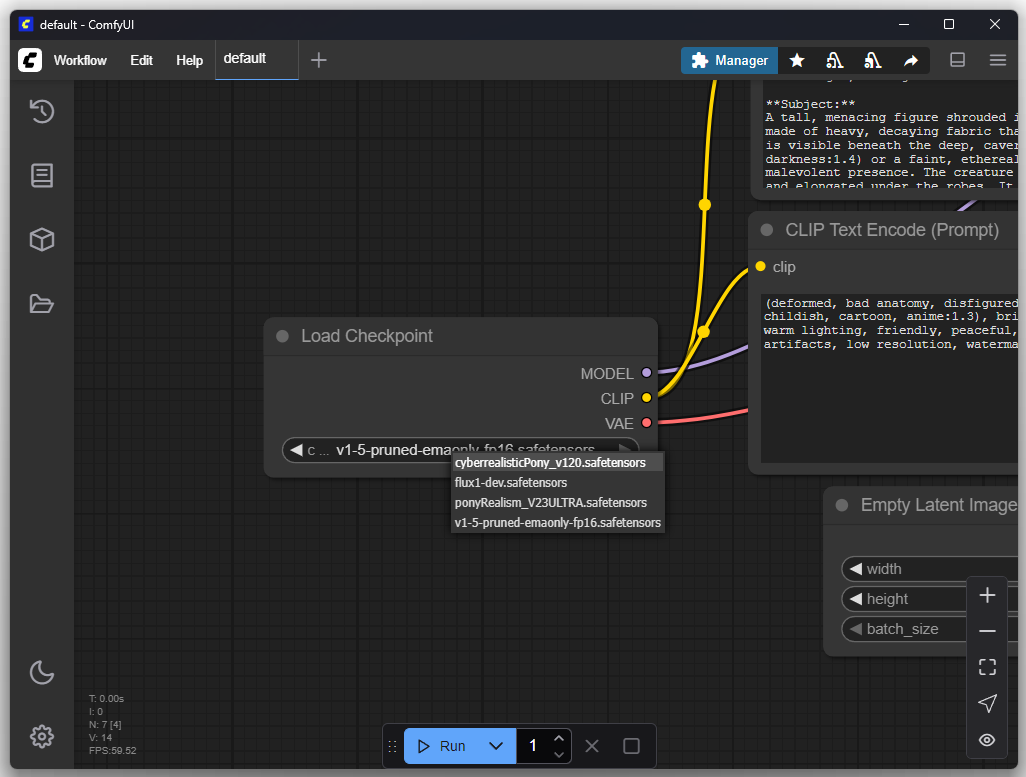
Within “Load Checkpoint” you can switch the model:
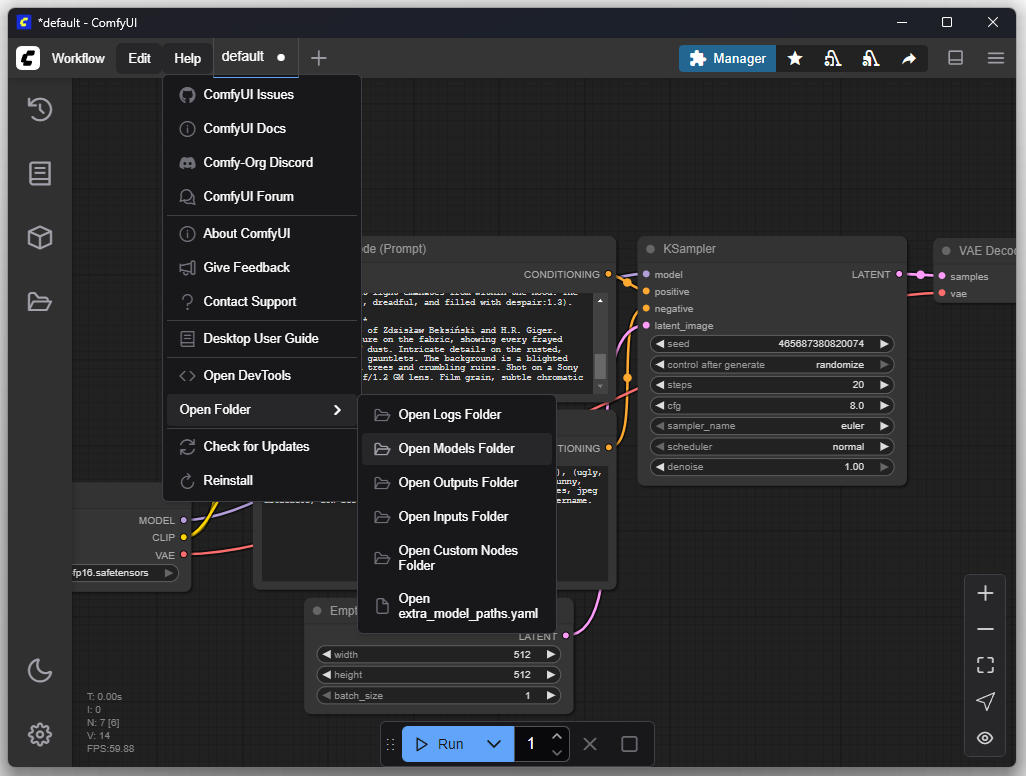
Folder Structure
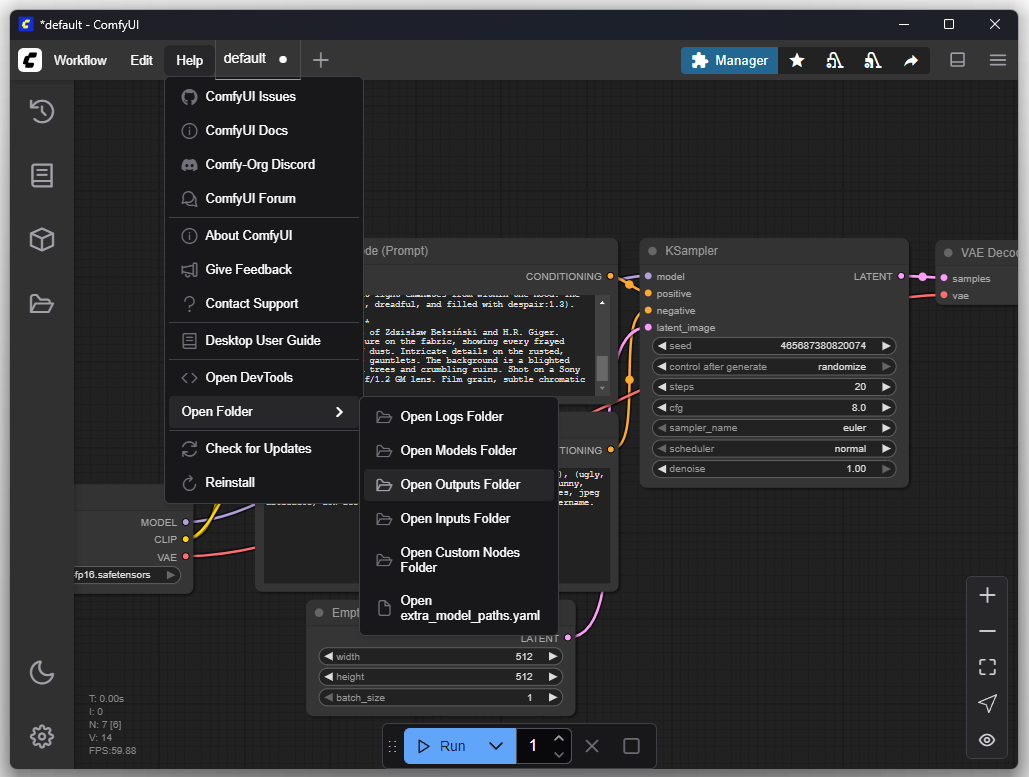
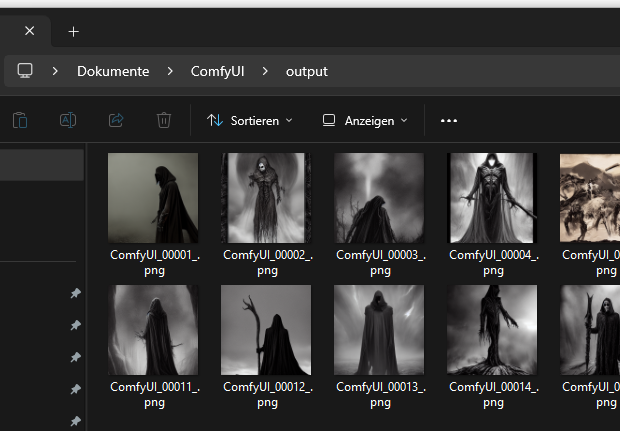
The rendered images can be found inside the “Outputs” folder:
Monolithic vs. Modular Models
A modern text-driven image generation system, often referred to as a single “model”, is in practice a composite system of several specialized neural networks that work sequentially together. The standard architecture used by most systems such as Stable Diffusion consists of three core components.
Text Encoder (Text Encoder / CLIP)
The text encoder is a transformer-based neural network whose sole function is to translate a textual input (prompt) into a numerical representation space (a set of vectors) that the U-Net can process.
U-Net (The Actual Diffusion Model)
The U-Net is the centerpiece that does the actual “creative” work. The U-Net does not start with a blank white canvas, but with an image consisting only of purely random, colorful pixels, like the “snow” on an old television. There is absolutely no structure in this image.
The U-Net now looks at two things simultaneously: the current image with the random pixels and the instruction from the text encoder.
Based on a prompt like “cat on a chair”, the U-Net repeatedly adjusts the random pixels. This process is repeated many times (for example, 40 times). At each step, the U-Net looks at the new, slightly improved image and rearranges the pixels a little more. You can imagine it as slowly sharpening an extremely blurry photo, click by click. With each step, the chaos becomes more ordered until at the end a clear, recognizable structure has emerged. However, this result is not yet a finished image, but rather a kind of detailed blueprint or plan for the final image.
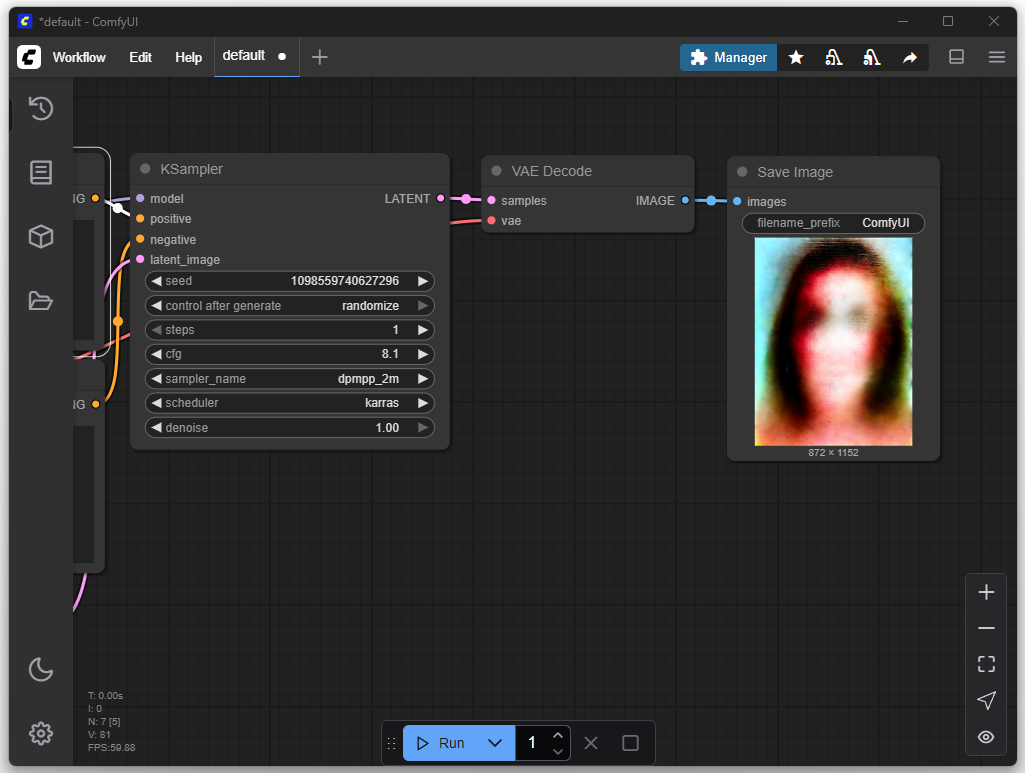
The following image appears after one iteration:
After 4 iterations:

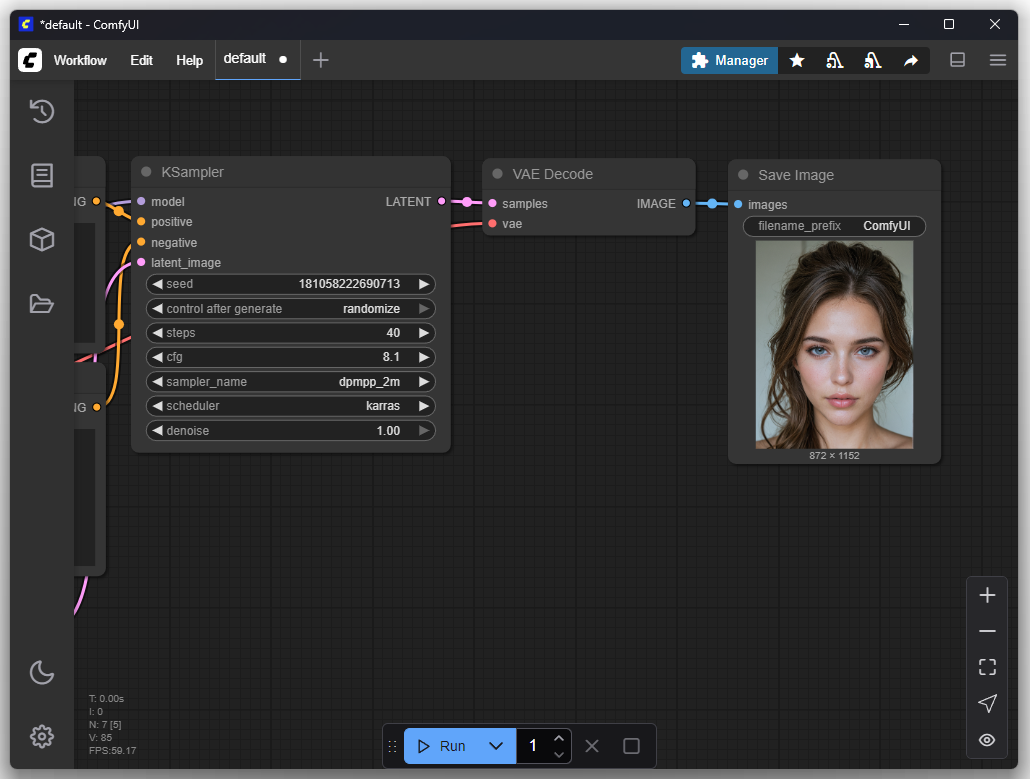
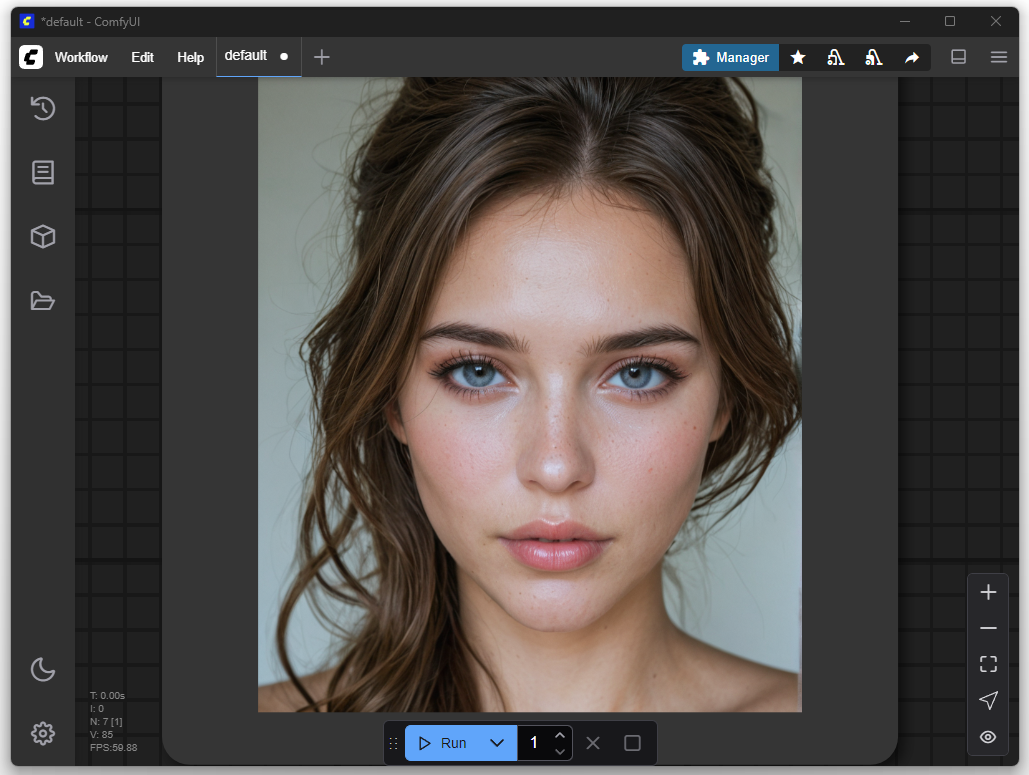
After 40 iterations:
Variational Autoencoder (VAE)
The VAE has a very specific and simple task: it converts the “blueprint” created by the U-Net into a normal, viewable image.
You can think of the VAE as a printer or a photo developer. It reads the detailed information from the blueprint about where colors, edges, and surfaces should be, and paints the final pixels based on this. It adds the final fine details and textures that make an image sharp and realistic.
Checkpoint
A checkpoint is a file that saves the fully learned state of one or more neural networks at a specific point in time.
cyberrealisticPony_v120.safetensors is a monolithic checkpoint. This means that the trained weights of all three neural networks required for image generation (text encoder, U-Net, VAE) are combined and stored in a single *.safetensors file. The CheckpointLoader node in ComfyUI is designed to load such a file, separate the three components internally, and forward them to three separate outputs: MODEL (for the U-Net), CLIP (for the text encoder), and VAE. The main purpose of this format is simplicity of handling for the end user.
flux1-dev.safetensors uses a modular architecture. The components of the system are distributed as separate, standalone files. The flux1-dev.safetensors file contains exclusively the weights for the U-Net. The text encoder and VAE must be available as separate files.
Reasons for this modular design include:
Flexibility
Components can be swapped out. A U-Net can be combined with different VAEs or text encoders to modify the result without retraining the main model.Efficient Development
Developers can update and release a single component, such as the U-Net in FLUX, without having to repackage and redistribute the other, unchanged parts of the system.Specialization
It allows for the development of highly optimized single components. The FLUX U-Net has a new architecture but is compatible with already existing standard text encoders and VAEs.
Choosing the “Right” Checkpoint
A crucial aspect when working with AI image generators is understanding that not every checkpoint is suitable for every type of graphic. These models, often stored as files in the .safetensors format, are trained on highly specialized datasets. Their capabilities are directly defined by the type of images used for their training.
A model like cyberrealisticPony_v120.safetensors, which, for example, was primarily trained on photorealistic images of women, will deliver outstanding results when depicting human anatomy and specific portrait styles. However, if you attempt to create a Nazgûl from “The Lord of the Rings” with the same model, the result will be unsatisfactory. The model lacks the learned visual information about the dark fantasy aesthetic, torn robes, and faceless appearance of these creatures. Therefore, selecting the right, thematically appropriate checkpoint is the fundamental first step to achieve a desired image result.
Flux
In the rapidly evolving landscape of AI image generators, Flux is causing considerable excitement. At its core, Flux differs from established models like Stable Diffusion through its underlying architecture. Instead of a stepwise diffusion process, it uses a technology called flow matching, enabling significantly faster image generation in fewer computational steps. The model’s relevance is further underlined by the development team, which includes key figures responsible for the development of Stable Diffusion.
Since Flux is modular, the previously used workflow cannot be directly adopted. However, ComfyUI provides predefined templates out of the box to simplify the start. To use Flux, you only need to download the missing model components, namely text encoder, U-Net, and VAE, and copy them into the designated folders within ComfyUI.

I chose the “Flux Dev full text to image” template and then copied the missing models to the designated locations.
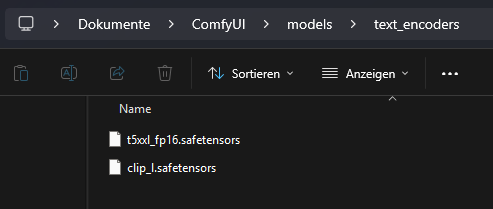
Text Encoder
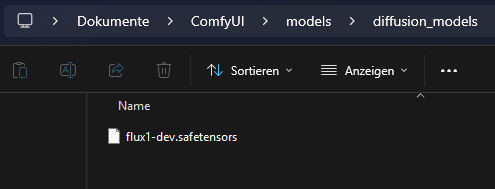
U-Net
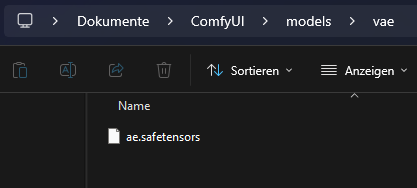
VAE
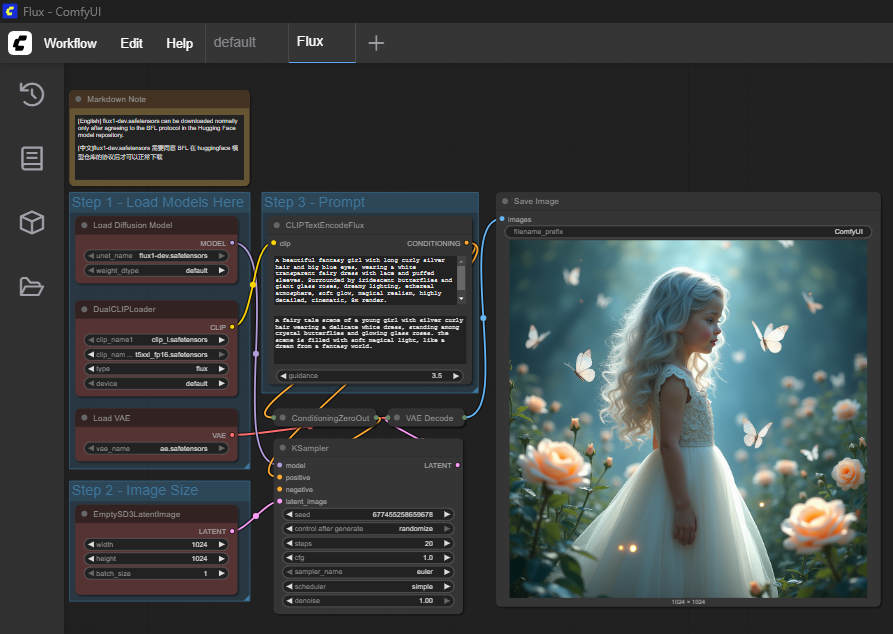
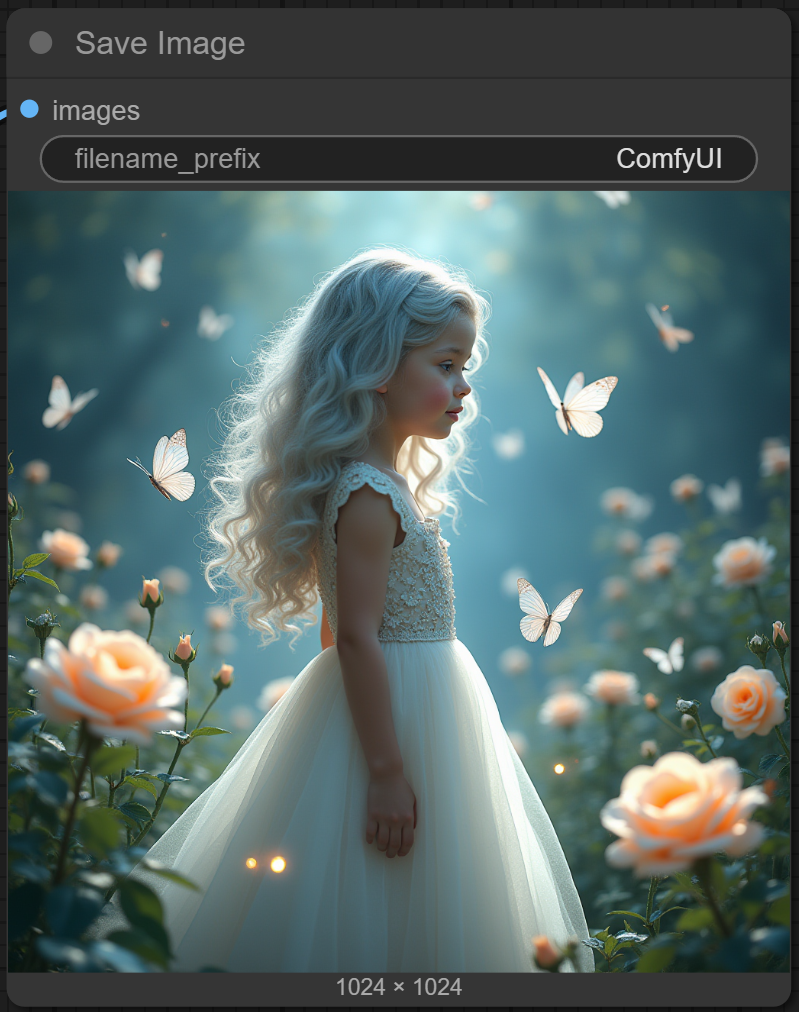
The first result from Flux with the default settings and the prompt provided by the imported Flux template:
LoRA
LoRA stands for “Low-Rank Adaptation” and is a method for efficient fine-tuning of large pre-trained AI models like Stable Diffusion or Flux. A base model, also called a checkpoint, consists of several gigabytes of data and contains weight matrices, vectors, and bias values. These define the internal structure and behavior of the model. The architecture of a model is fixed and unique. A LoRA must exactly match this architecture because it functions like a tailored addition. It is not universally usable. A LoRA created for Stable Diffusion v1.5 is therefore not compatible with SDXL, since the latter has a different architecture. The names, sizes, and functions of the weight matrices differ.
When a model needs to be extended with a new style or concept, you would normally have to retrain it completely. This process is costly, requires a lot of computing power, and produces another large file. LoRA avoids this effort with a different approach. Instead of directly altering the existing weight matrices, small pairs of matrices are trained in addition. These are significantly smaller and contain only the deviations from the original model. When deployed, the LoRA is loaded together with the original model. It intervenes in the computation by adding its values at a specific point in the calculation. This happens within a model layer, before the result is passed to the next layer. In this way, the behavior of the model can be specifically adjusted without permanently changing its original parameters.
Example:
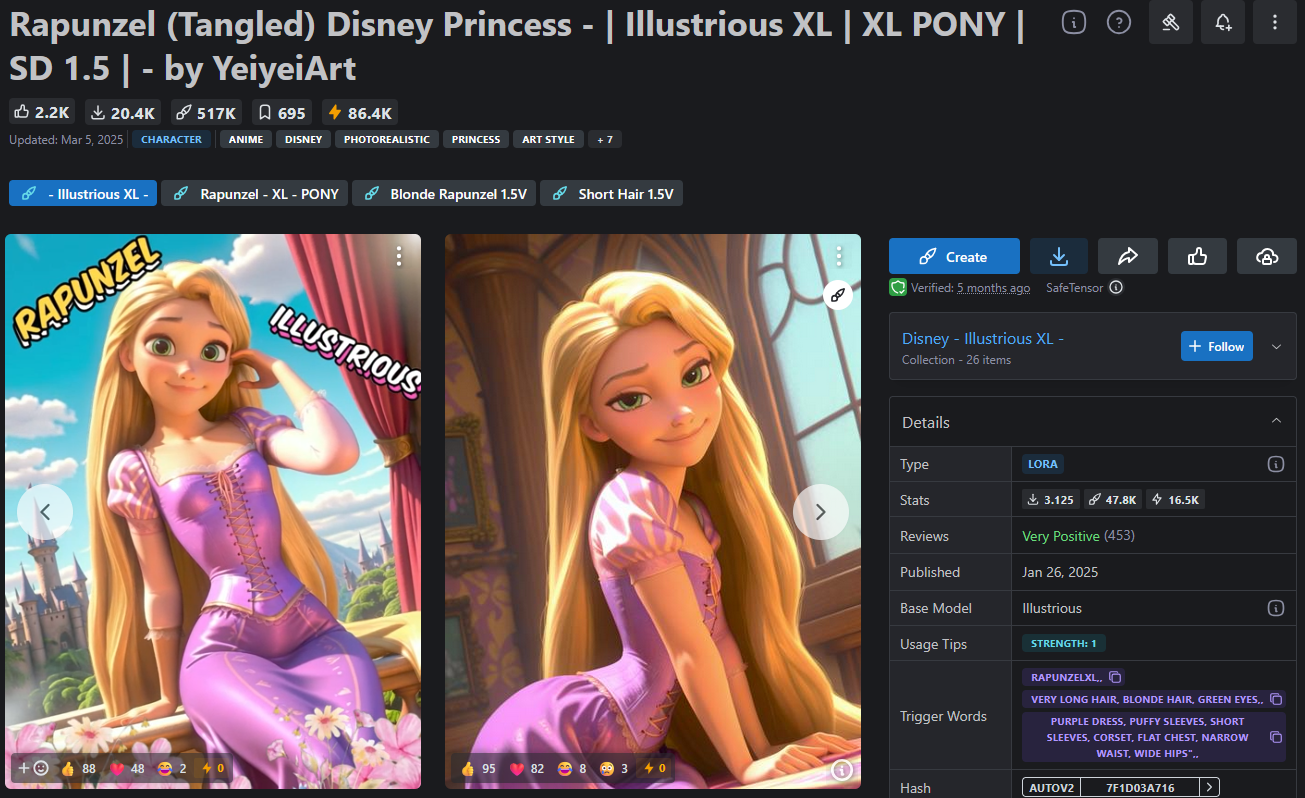
To create an image of Rapunzel, you can use the illustrij model, which is optimized for stylized characters (Link).
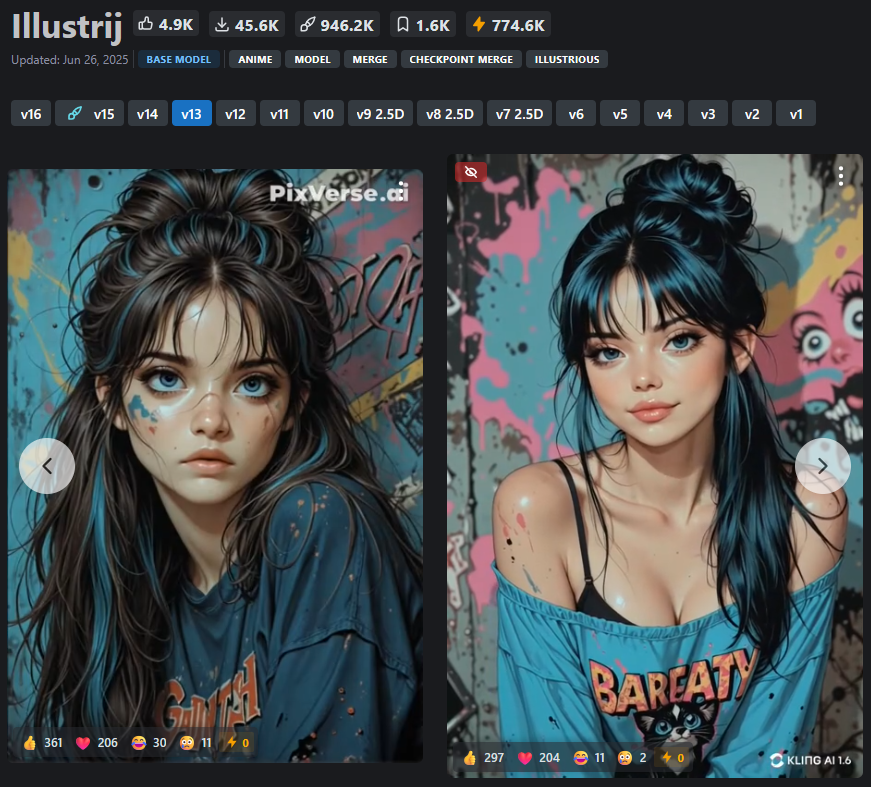
By adding a suitable LoRA model specifically trained on Rapunzel image material (Link), the base model can be temporarily extended so that it can generate Rapunzel images without permanently altering the original model.
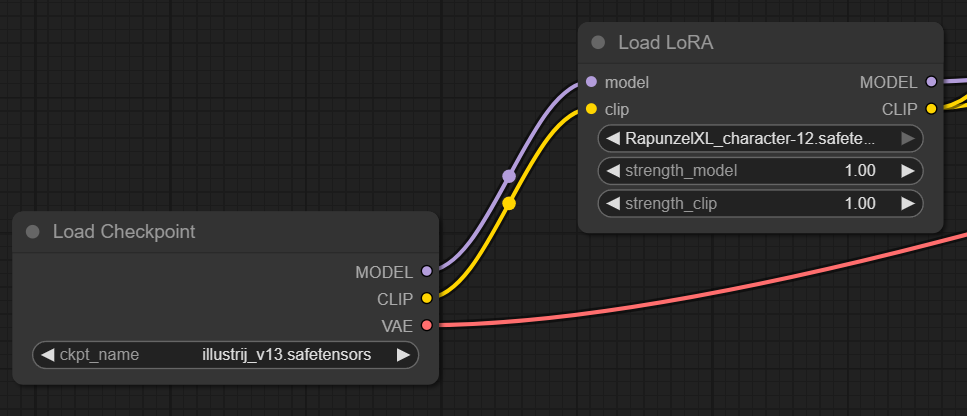
The image shows the serial execution of a ComfyUI workflow with a base model and a LoRA module. First, the main model illustrij_v13.safetensors is loaded. This provides the basic model components (MODEL, CLIP, VAE). Then the LoRA model RapunzelXL_character-12.safetensors is loaded, to which the MODEL and CLIP outputs of the base model are passed. The LoRA model modifies these components at runtime according to its own weights. This dynamically extends the base model with the Rapunzel concept without changing the original checkpoint itself. It is also possible to chain multiple LoRA models in series, teaching the character new “skills” with each step.
The result after using the RapunzelXL LoRA model:

The result with the same settings but WITHOUT the RapunzelXL LoRA model: