MongoDB (derived from the English humongous, „gigantic“) is a document-oriented NoSQL database written in the C++ programming language. Because the database is document-oriented, it can manage collections of JSON-like documents. This allows many applications to model data in a more natural way, since the data can be nested in complex hierarchies while still remaining queryable and indexable. [Wikipedia]
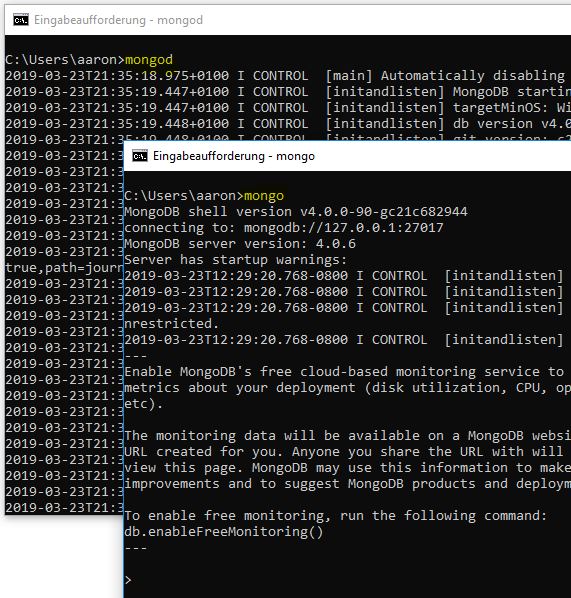
The MongoDB server can be started with the following command. However, the following folder must first be created: C:\data\db. This is where the database data is stored.
mongod
You can change the default folder with the following command:
mongod –path “…..”
The following page shows an overview of the parameters that can be used to start the server, e.g. mongod -f mongod.cfg

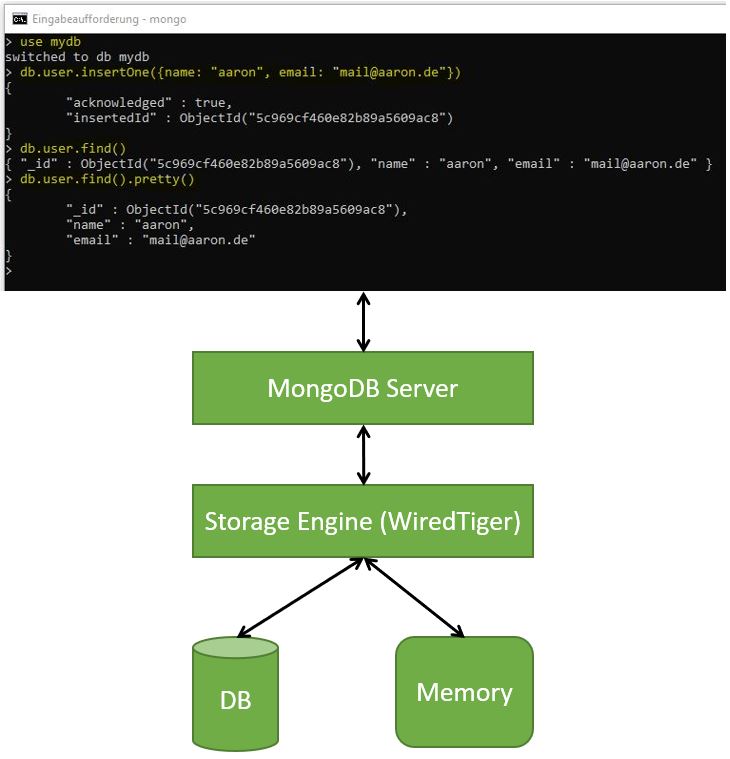
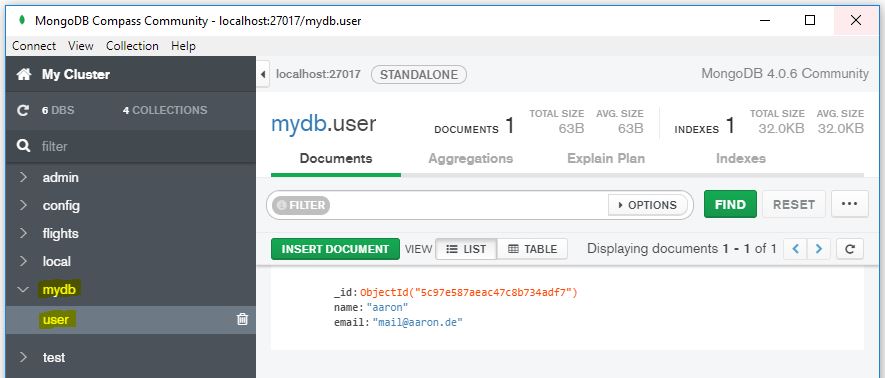
Using ‘use mydb’ connects to the database ‘mydb’. If the database does not already exist, it will be created.
Using ‘db,user.insertOne(…..)’ creates a new document (collection). Mongo generates a unique ID for the record.
Using ‘db.user.find()’ displays all records in the collection ‘user’.

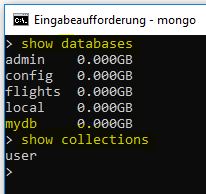
‘show dbs’ also works.
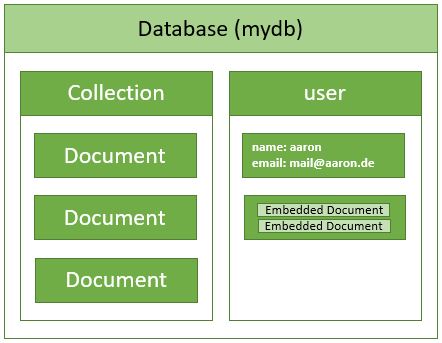
Nesting can be performed up to a depth of 100. The max. document size is 16 MB per document.
Create Operations
- db.collection.insertOne()
- db.collection.insertMany()
Read Operations
- db.collection.find() e.g. db.user.find({age: {$gt: 43}})
Update Operations
- db.collection.updateOne()
- db.collection.updateMany() e.g. updateMany({}, email: “test@test.com”)
- db.collection.replaceOne()
Delete Operations
- db.collection.deleteOne()
- db.collection.deleteMany() e.g. deleteMany({})
$gt is an operator. This overview shows how operators can be used. To be more precise, this is a ‘Query and Projection’ operator.
MongoDB distinguishes 5 different operator groups.
The shell communicates with the MongoDB server. The server sends the request or the record we entered to the ‘Storage Engine’, which is responsible for processing the data. The ’engine’ will store the data within the DB and also keep it in memory for quick access. The ’engine’ can be swapped out for another if needed. ‘WiredTiger’ is the default engine. Storage is not in the form of JSON but as a BSON (Binary JSON) binary file.
MongoDB offers the ability to access the database via a UI with Compass.
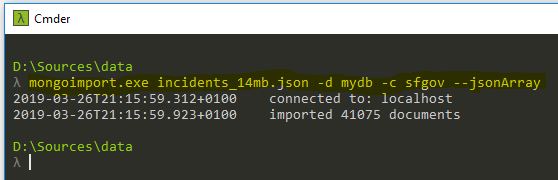
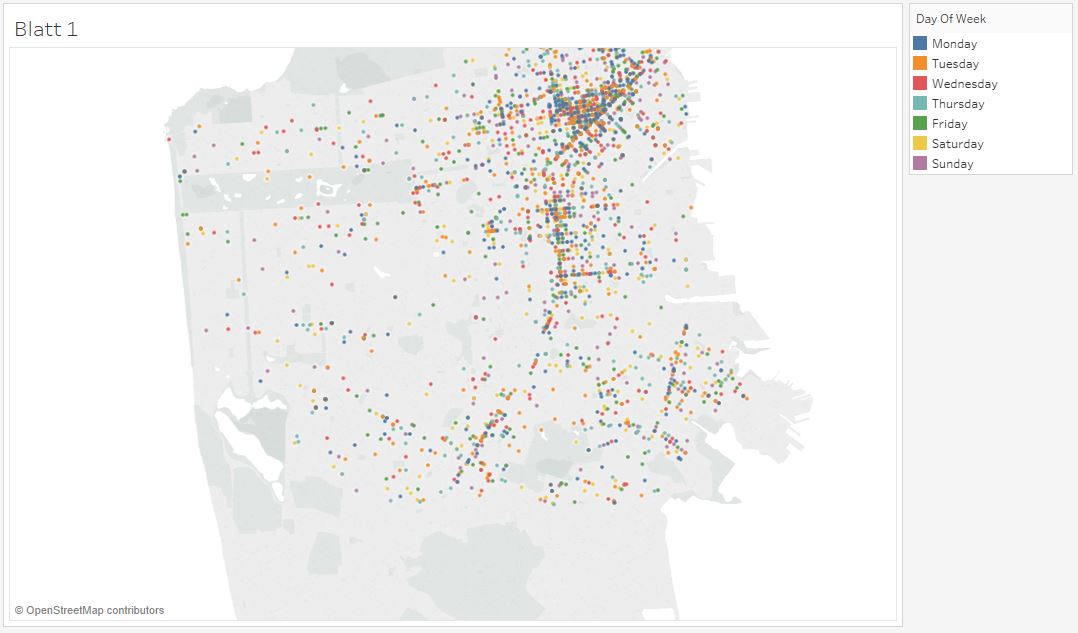
A JSON file can be imported into the database as follows. In this case, I am importing a report from the police department about various crimes in the USA from 2003 to 2018:
mongoimport.exe incidents_14mb.json -d mydb -c sfgov –jsonArray
In this case, ‘mydb’ is the database and ‘sfgov’ is the collection. A collection with 41,075 documents was imported.
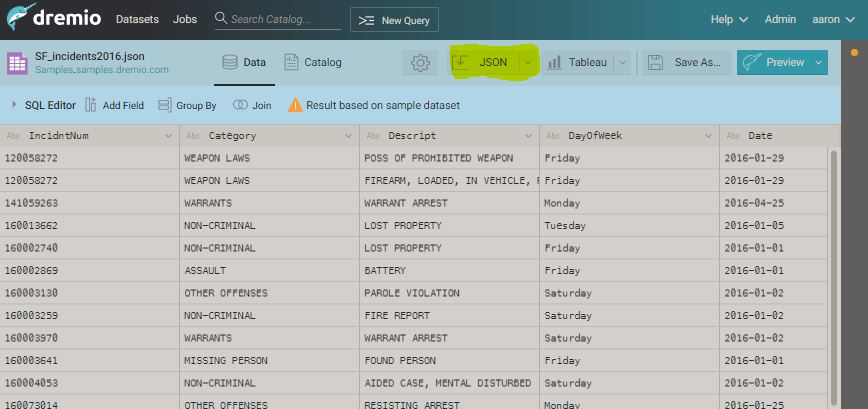
I made it a bit simpler by exporting the existing ’example’ JSON dataset from dremio.
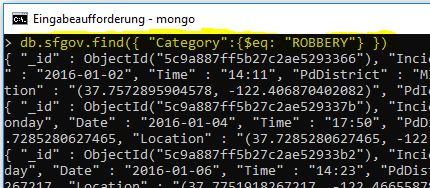
Within the data, we can search for, e.g., robberies with the following command:
db.sfgov.find({ “Category”:{$eq: “ROBBERY”} })
I displayed the visualization of robberies purely out of interest using tableau:
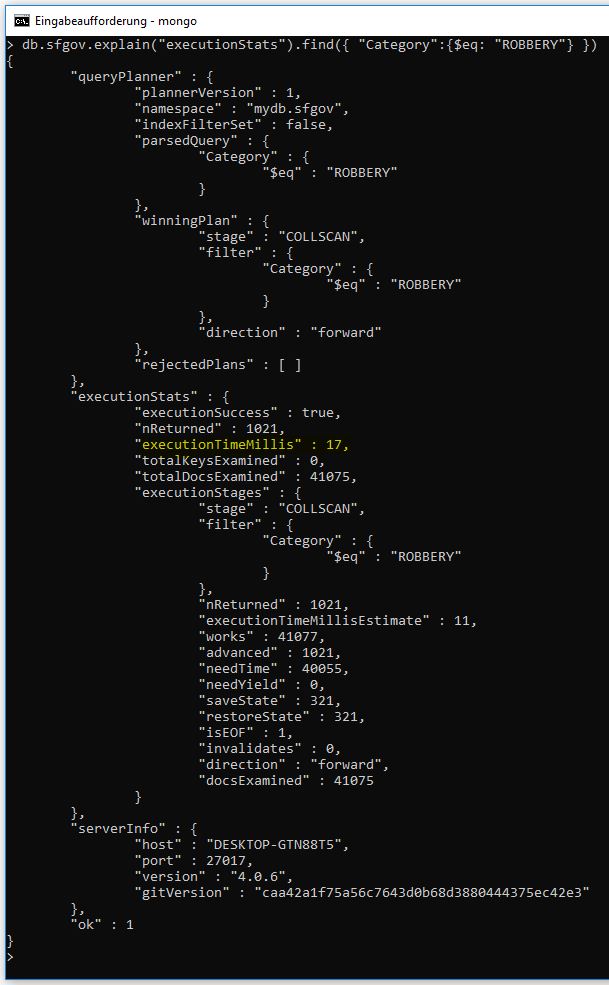
With the following command we can get detailed information about the query:
db.sfgov.explain(“executionStats”).find({ “Category”:{$eq: “ROBBERY”} })
Among other things, it shows how much time the execution of the query took:
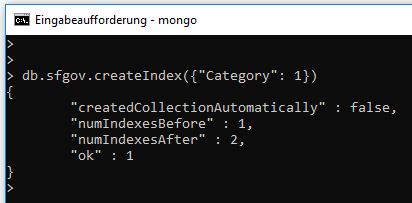
To increase the speed of the query, we can generate an index for the desired field. In this example, I create an index for the category:
db.sfgov.createIndex({“Category”: 1})
An index can be deleted again with the following command:
db.sfgov.createIndex({“Category”: 1})
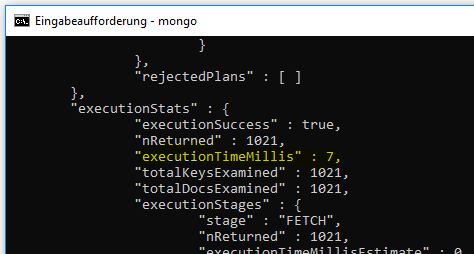
When calling the query information again, we see that the processing speed has improved by 59%:
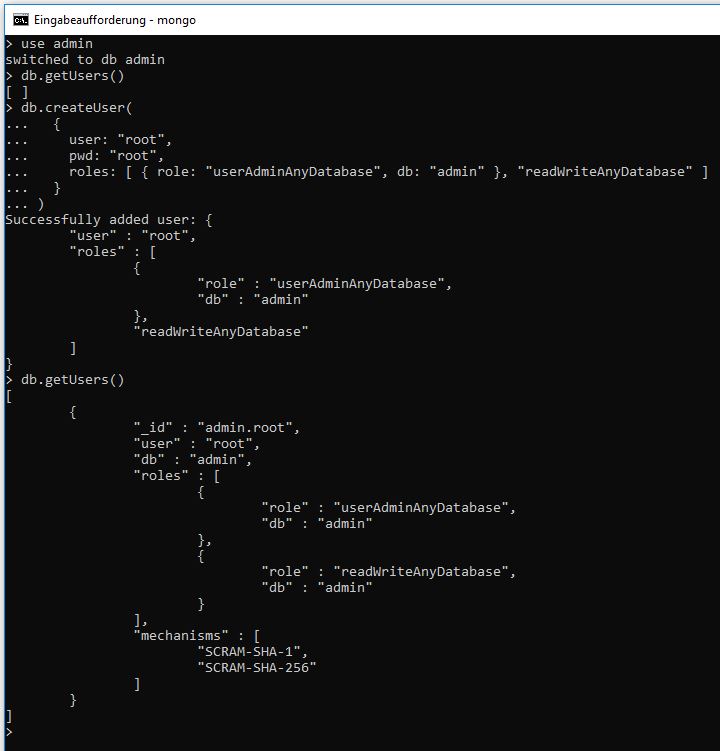
To bring a bit more security into play in the future, we will first create an ‘admin’ user:
The user can be deleted again as follows:
db.runCommand( { dropUser: “root” } )
Then the server must be stopped once:
db.shutdownServer()
exit
The server must be started with the –auth parameter so that the user must authenticate to the DB server:
mongod –auth
or
mongod –auth –port 27017 –dbpath C:\data\db
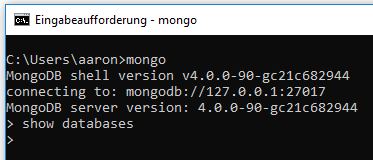
The information can no longer be accessed without authentication:
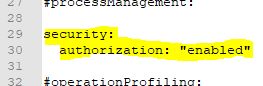
It is also possible to permanently enable authentication within the MongoDB configuration file ‘C:\Program Files\MongoDB\Server\4.0\bin\mongod.cfg’:
Access can then only be performed with a user that has the corresponding access rights. The user can be created as follows:
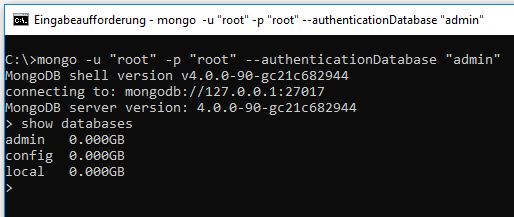
Authentication is done as follows:
mongo -u “root” -p “root” –authenticationDatabase “admin”
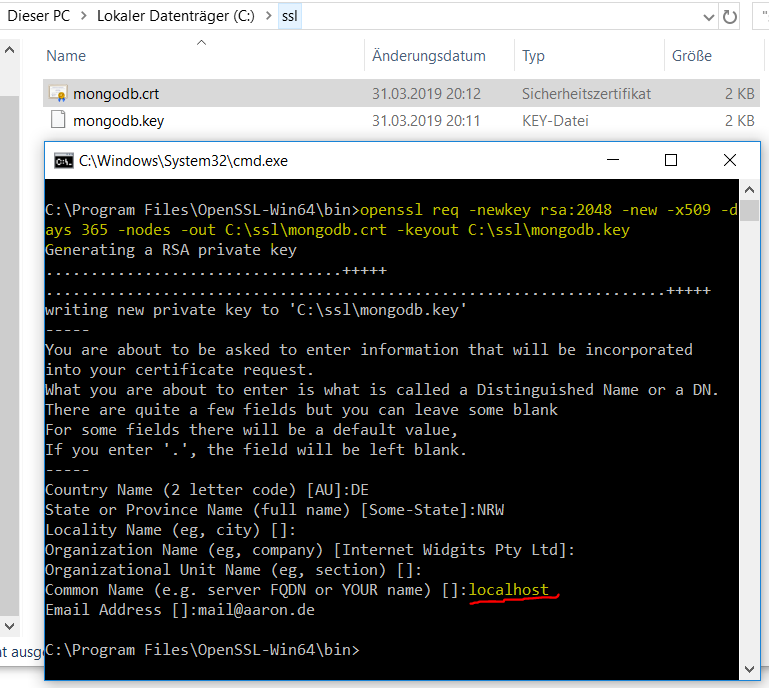
To secure the transmission, SSL can be used. The required *.pem file can be created as follows. The ‘Common Name’ must be the server address:
openssl req -newkey rsa:2048 -new -x509 -days 365 -nodes -out
C:\ssl\mongodb.crt -keyout C:\ssl\mongodb.key
Generating the *.pem file:
type C:\ssl\mongodb.crt C:\ssl\mongodb.key > C:\ssl\mongodb.pem

The server can then be started with the following command:
mongod –sslMode requireSSL –sslPEMKeyFile C:\ssl\mongodb.pem
To delete the existing MongoDB connection, the following command can be executed:
db.shutdownServer()
Connection to the server can then be made as follows:
mongo -ssl -sslCAFile C:\ssl\mongodb.pem –host localhost
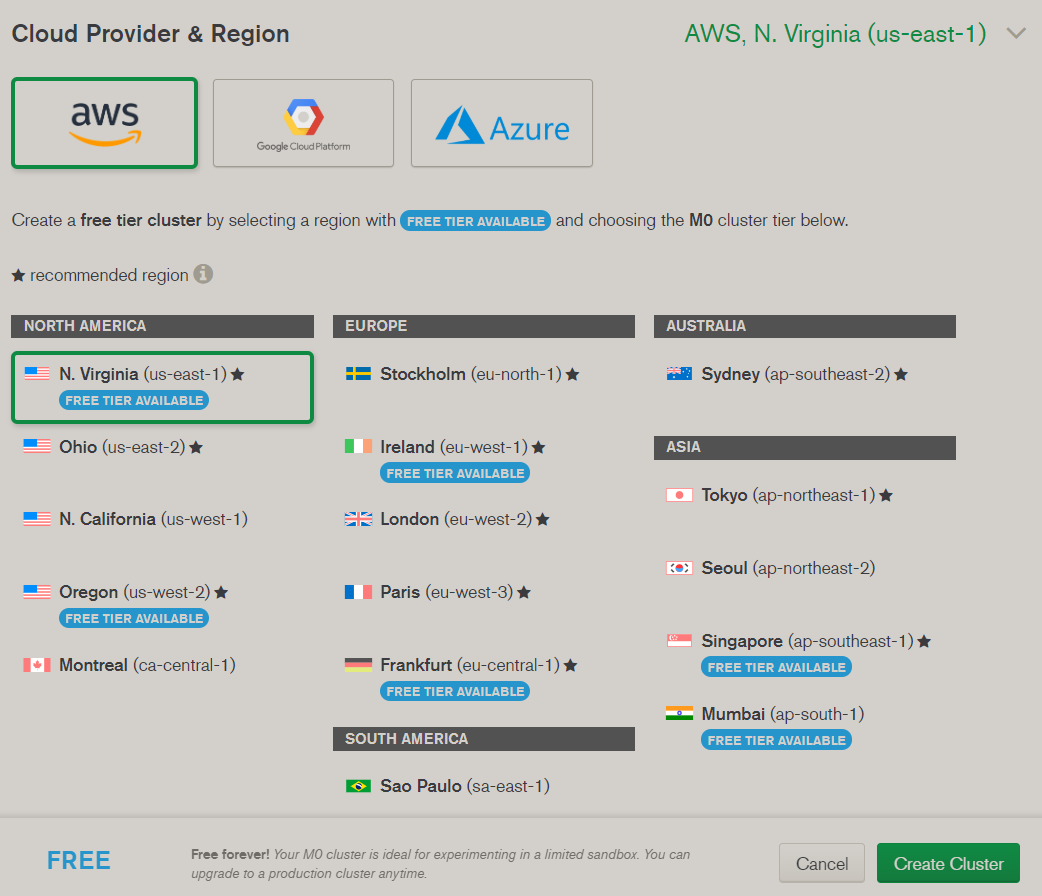
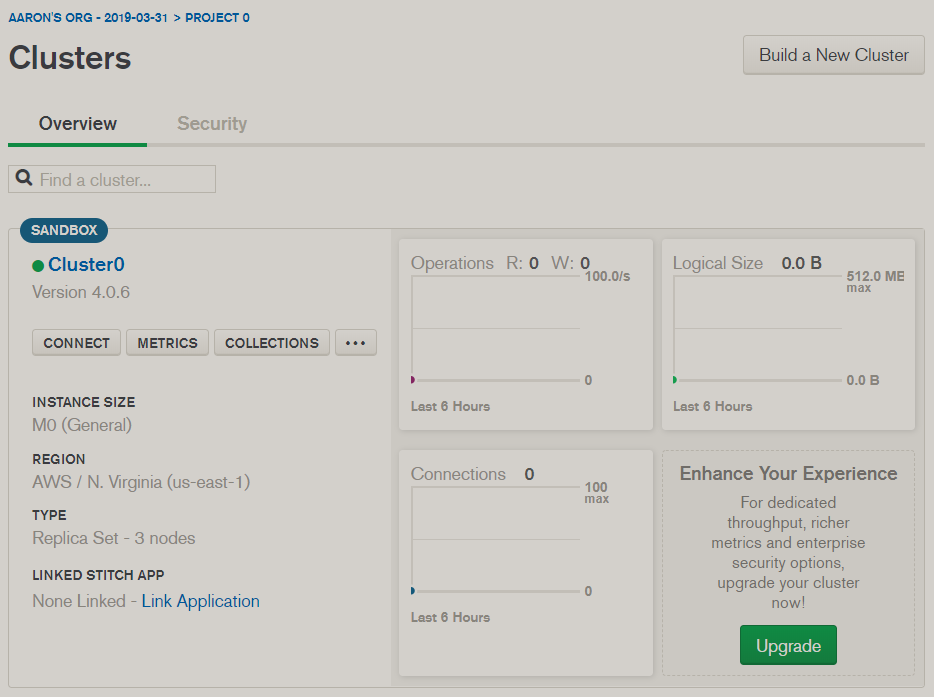
With Atlas we have the option to use MongoDB as a service. I will choose AWS here.
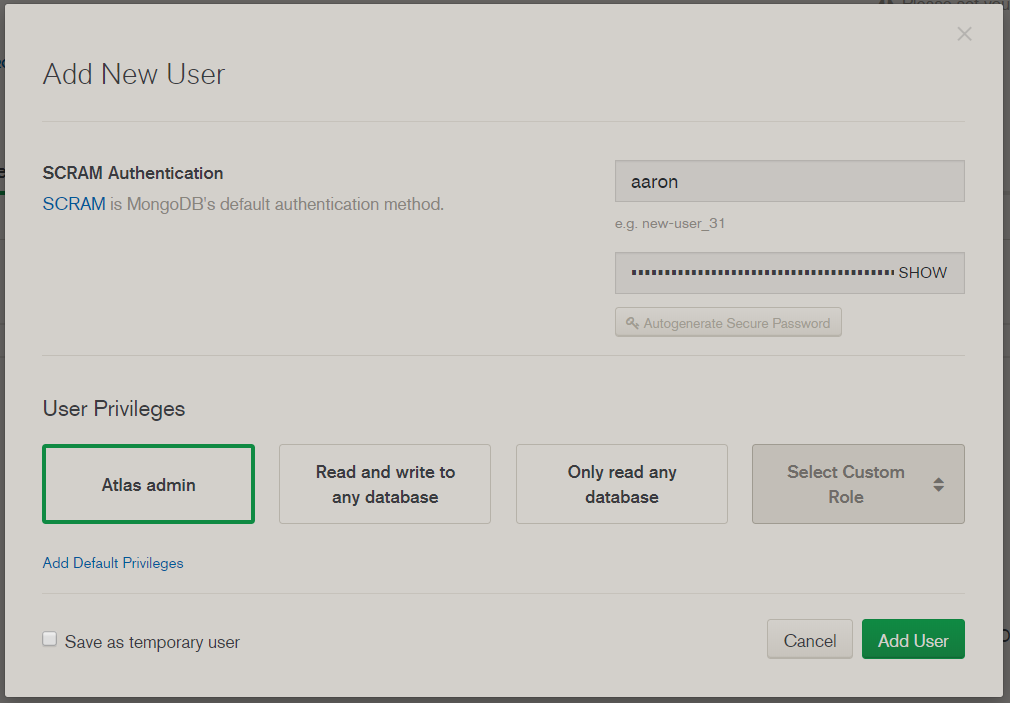
Create Atlas admin:
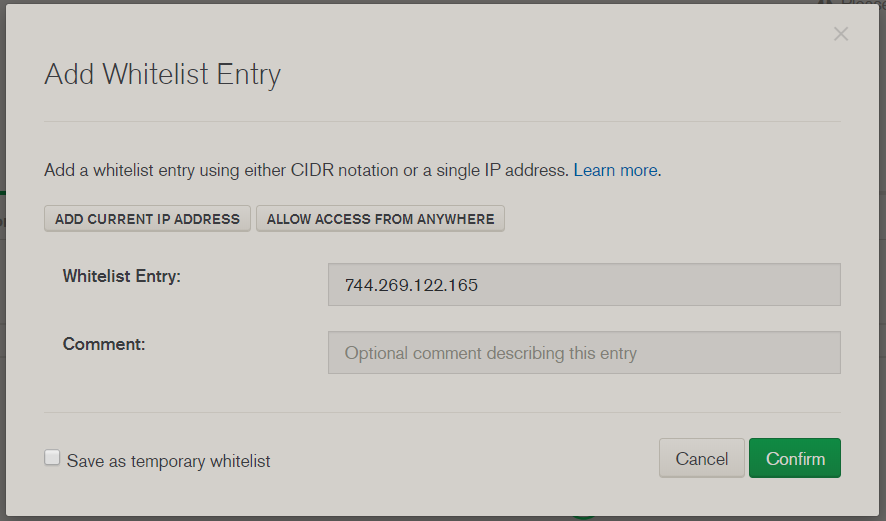
Restrict access to your own IP:
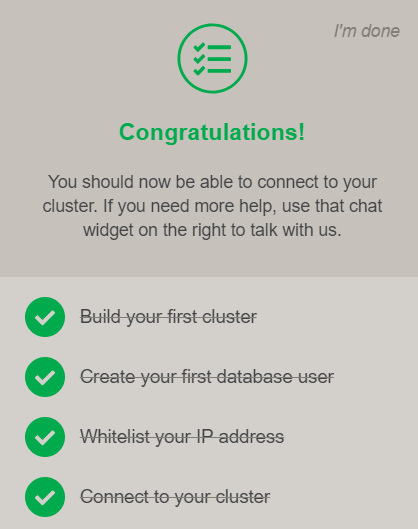
The popup shows the remaining steps:

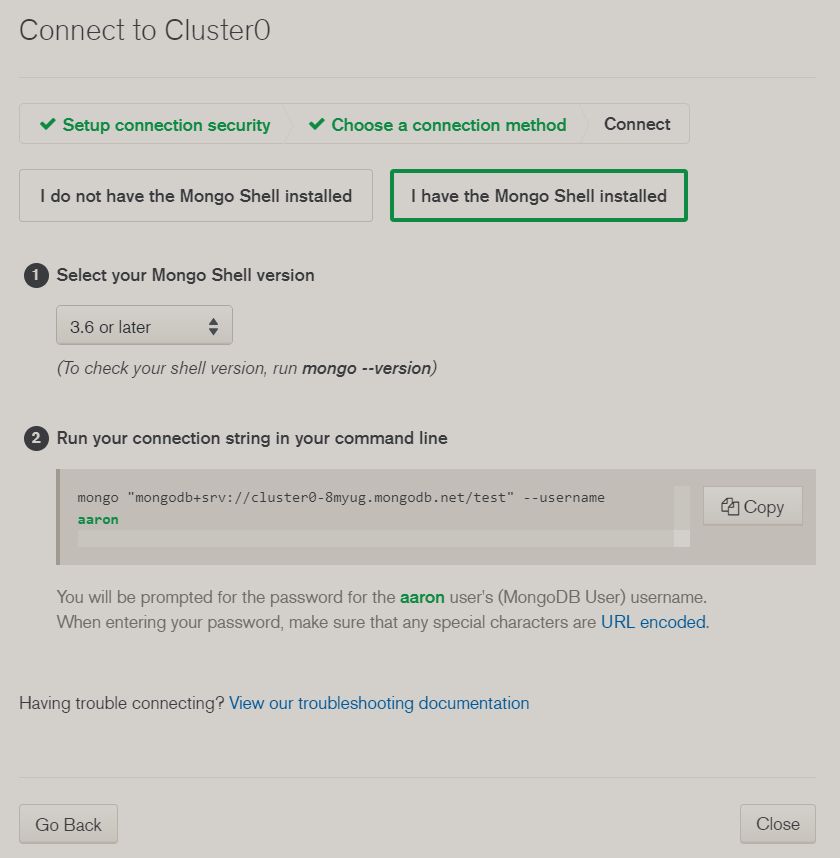
Connect via shell:

…..