
Telegram is more than just a messaging app. It has evolved into a versatile platform for automation and the development of interactive services. Especially in the field of AI applications and tools like n8n, Telegram is becoming increasingly popular because it enables direct bidirectional communication with people. For developers who want to leverage these possibilities, there are two fundamental approaches: the Bot API and the MTProto-API.
The Bot API: The standard way for most bots
The Bot API provides the simplest and most commonly used method for creating a Telegram bot. It was specifically designed for the easy development of automated services.
Advantages
Simplicity: Uses the standard HTTPS protocol.
Security: Communication with the Telegram servers is managed automatically; development is done via a simple API token.
Automation: Ideal for automated responses to certain events or commands.
Disadvantages
Limited functionality: Subject to strict privacy rules. Retrieving private data such as a user’s online status is not possible.
Limited interaction: Cannot fully mimic the user interface of a human client.
The MTProto API: The path for advanced applications
The MTProto API is the underlying protocol also used by the official Telegram apps. It is more complex but offers a significantly broader range of functions.
Advantages
Full control: Enables access to all Telegram functions, including managing contacts, retrieving online status and reading member lists in groups and channels.
Flexibility: It is possible to develop an application that acts not as a “bot” but as a normal Telegram user.
Disadvantages
Complexity: The protocol is demanding to implement due to its own encryption and session management.
Responsibility: The developer is responsible for complying with privacy regulations, since access to private user data is possible.
Choosing the right API
For most projects, especially for beginners, the Bot API is recommended. It is easy to learn and meets the requirements of most bot applications. The MTProto API only becomes relevant when an application needs specific functions that the Bot API does not offer, such as monitoring users’ online presence or extracting complete member lists.
We will first focus on the simpler option and look at how to create a basic bot. This tutorial will cover the implementation via the Bot API with the help of BotFather.
Bot API & BotFather
To create your own Telegram bot with the Bot API, the path goes through the official BotFather. This bot is provided directly by Telegram and serves as the central point of contact for registering new bots. It is easy to find in Telegram’s search and is recognizable by the blue check mark that confirms it is the original.
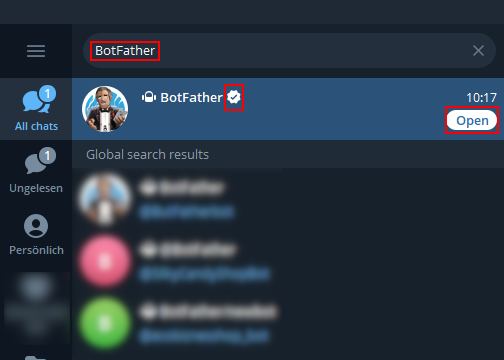
Once you open the bot, a menu is displayed that allows further settings and options. In this way, virtually every project with the Bot API begins here, as this is where the basic information necessary for later use is provided.
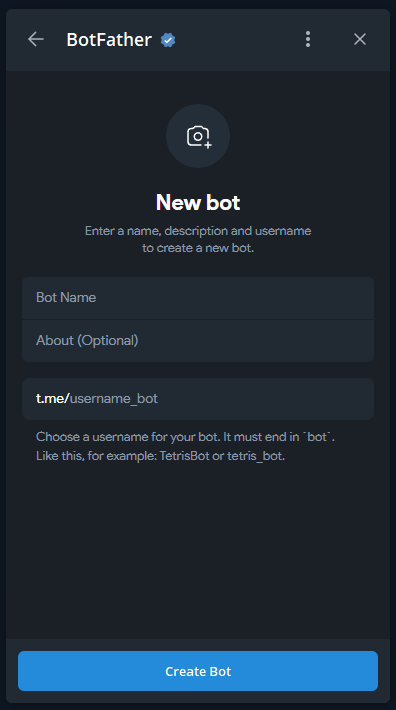
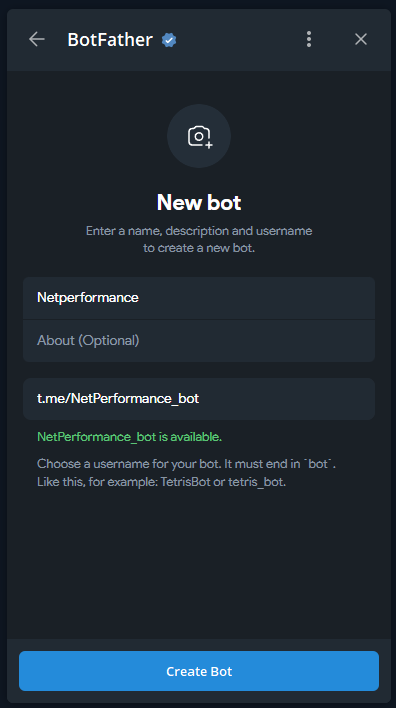
Bot Name
This is the display name that users see in Telegram when they interact with the bot. It can contain spaces and does not have to be unique. Several bots can therefore have the same name. Example: A bot can be named „NetPerformance“ even if there are other bots with the same name.
Username
The username is the unique address of the bot in Telegram and always ends with „bot“. It may not contain spaces. Only with this name can the bot be uniquely found and invoked, for example via the link t.me/NetPerformance_bot. The username must be unique, that is, it may only be assigned once worldwide.
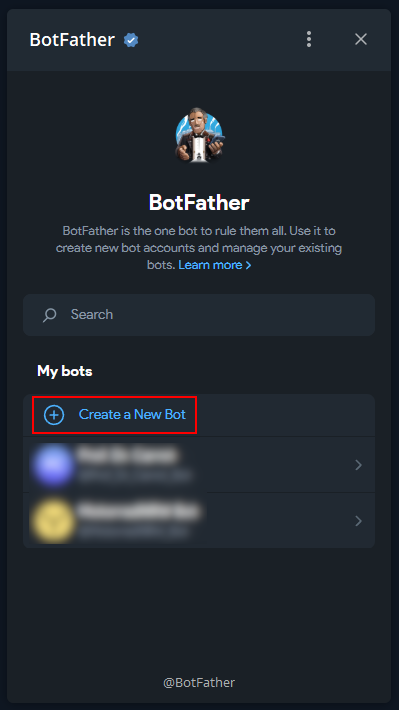
With the command /mybots, BotFather shows all the bots you have already created. The list displays the usernames of your bots, i.e. the unique addresses that always end with „bot“. In the screenshot, you can see that the bot with the username NetPerformance_bot was successfully created. This way, you can retrieve an overview of your own bots at any time.

When you select one of your bots in BotFather, a menu with various options opens. Each of these options is used to manage the bot or change its properties.
API Token
Here you receive the unique access key for your bot. This token is necessary to communicate with your bot via the Telegram Bot API. With it, you can send requests to the API, retrieve messages or send responses. The token is comparable to a password and should be stored securely, as anyone who knows it can control your bot.
Edit Bot
Through this function, you can change basic details of the bot, such as the visible name or the profile picture.
Bot Settings
In this area, you can make further settings, such as the description, the about text, or the list of commands that the bot offers to users.
Payments
Here you can activate payment functions with which the bot can, for example, process orders or purchases.
Transfer Ownership
This option allows you to transfer the bot to another Telegram account.
Delete Bot
With this function, you can permanently delete the bot. After that, it is no longer accessible via Telegram.
Through this menu you therefore control all central functions around your bot, with the API token being the most important foundation to work with the Bot API at all.

Display of the token API.
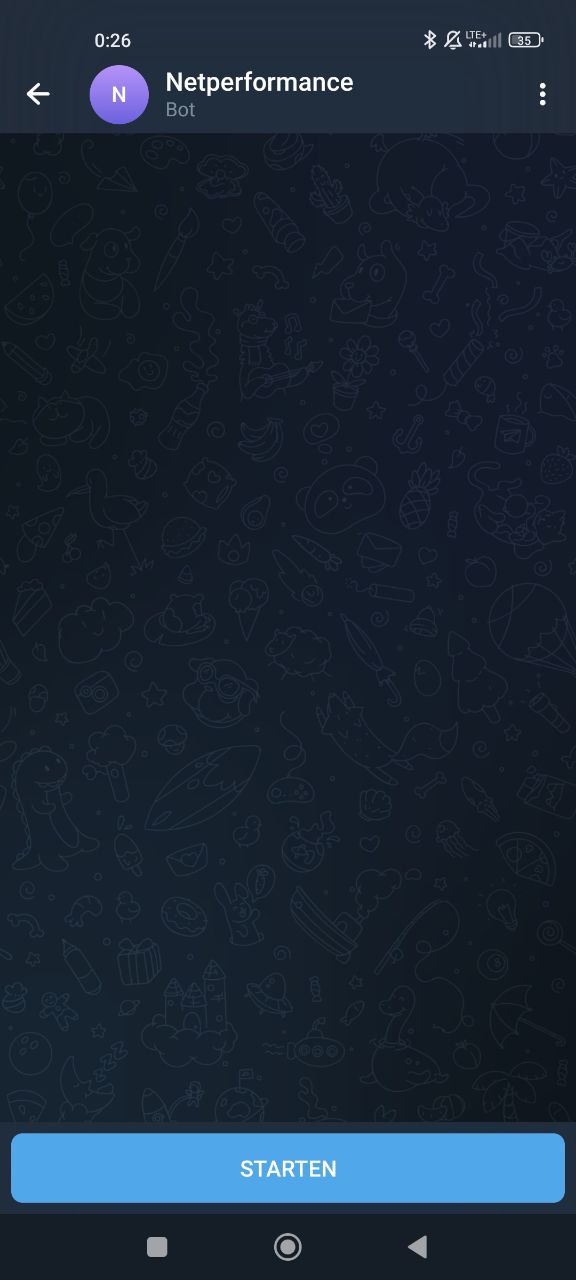
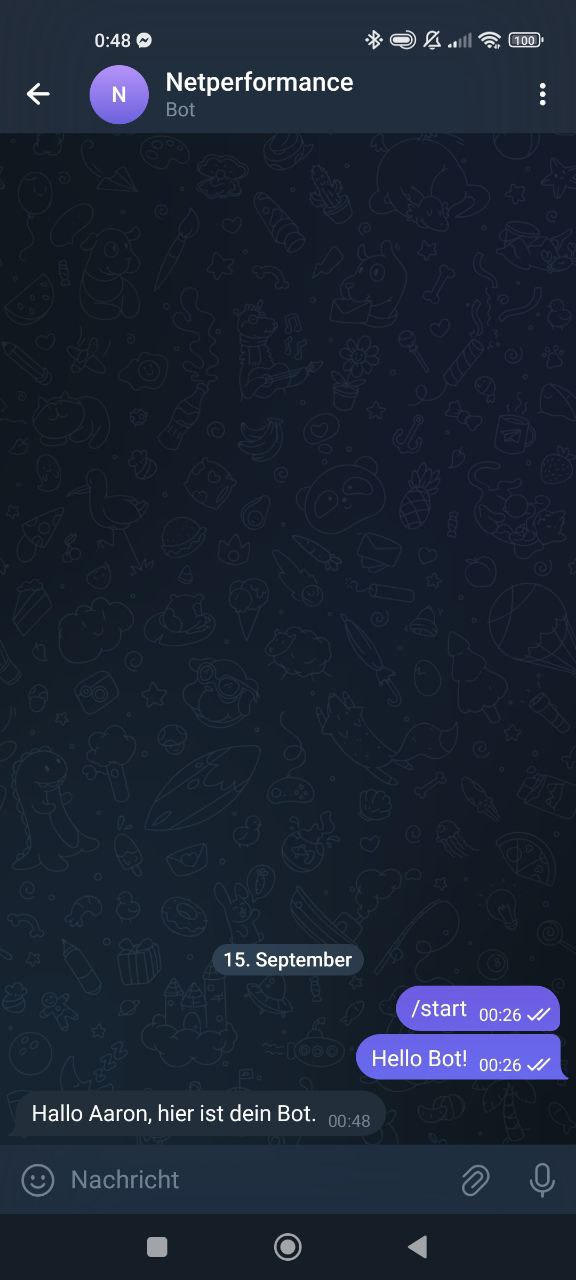
This screen shows the bot in the normal Telegram chat window, as a user sees it when they open it for the first time.
The Start button is necessary because a bot may only interact with a user after an active start command. This opens a so-called session. Telegram requires this step to ensure that the contact originates consciously from the user and that no unsolicited messages are sent.
Without this start process, the bot would not know that it is allowed to communicate with you.
On this screen you can see that, as a user, I sent my first message with the text „Hello Bot!“ to the bot after the start command.

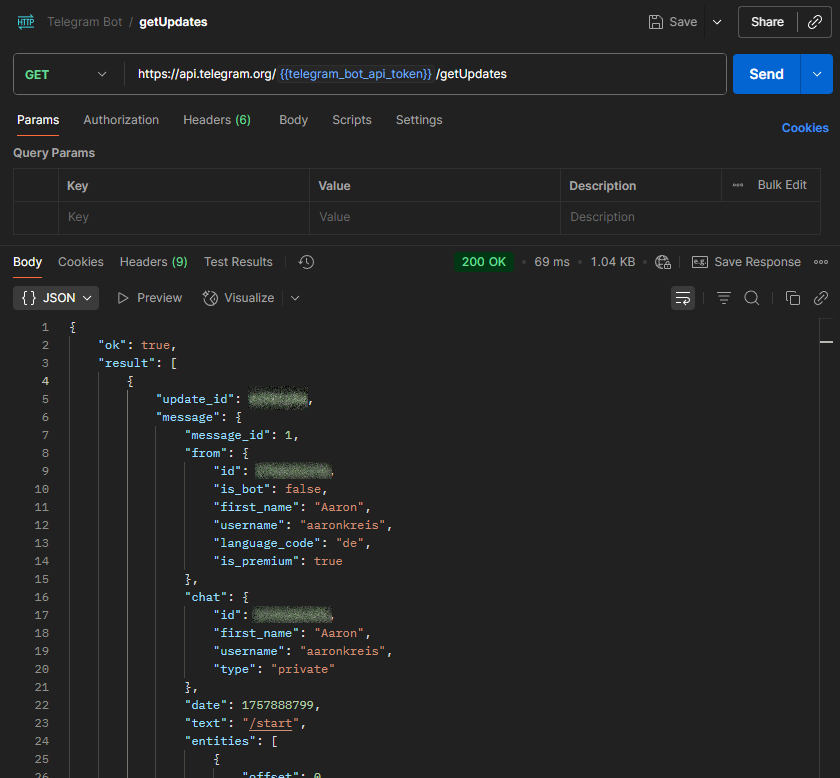
To check whether my bot is receiving messages, I called the getUpdates method of the Telegram Bot API via Postman. For this I use the URL https://api.telegram.org/bot
In the example, you can see that my previously sent message /start appears successfully in the result. In addition to the text, further information is transmitted, for example the unique chat.id, my username and the language setting. This data is important because it is used later to specifically send responses to the correct chat.
This completes the first step: my bot receives messages, and I can trace via the Bot API which inputs are coming in.
After retrieving the incoming messages with getUpdates, I now send a message back myself. For this I use the sendMessage method of the Telegram Bot API.
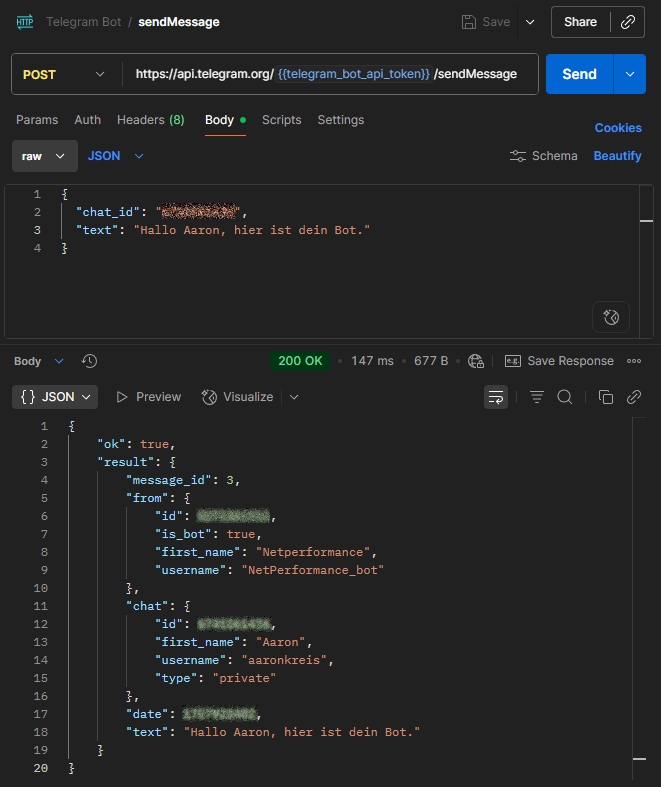
With this, the bot has initiated communication with a user on its own for the first time and sent a response. This establishes the first complete communication.
Up to this point, we have seen that a bot can receive messages and send them back to a user. This establishes the basic communication flow. What is still missing, however, is the actual logic in the background that makes the bot useful.
In a real application, it is not enough for the bot to merely accept messages and send simple responses. Instead, you need a separate backend that processes the incoming messages. This backend can, for example, check what content the user has sent, apply certain rules, or retrieve data from an external source. On this basis, the appropriate response is then created.
The process therefore looks like this: the user sends a message to the bot. This message is forwarded to the Bot API, which passes it on to the backend. There, the actual logic runs that decides which response is sent back. Only then does the Bot API transmit this response back to the user.
With this intermediate step, a fully automated process is created. The bot thus becomes more than just an echo; it becomes a tool that provides information, processes input and performs complex tasks.
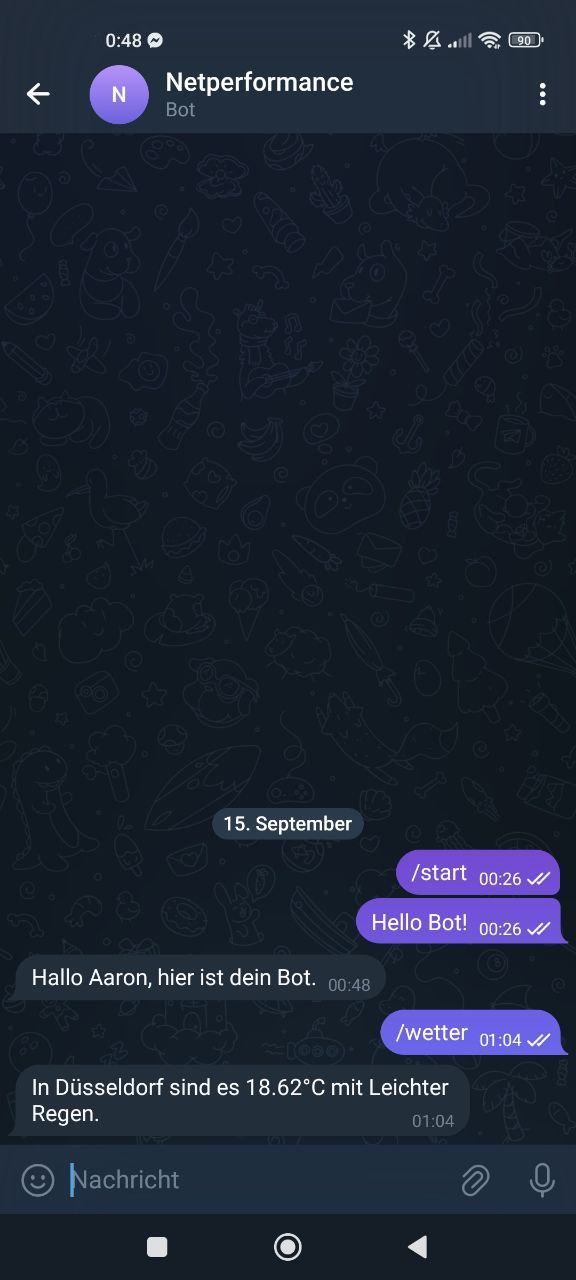
Bot API and OpenWeatherMap
After my bot was able to receive simple messages and send them back, I now want to expand it with a real function. For this purpose, it should respond to the command /wetter and provide current weather data from Düsseldorf.
It is important to understand that the bot itself actually has no logic. It is more like a mailbox in which users place their messages. Through the Bot API, I can fetch these messages. Only my own backend decides whether and how to react to a particular input. So if I write „Banane“ or „Kiwi“, nothing happens except that the message is displayed. If I write „/wetter“, my backend recognizes this specific text and then executes the desired action.
For this to work, my backend must receive the incoming messages from Telegram. To do this, the Bot API provides two different options:
Long Polling
With the getUpdates method, my backend polls the Bot API for new messages. In this process, I can set a timeout value, for example 30 seconds. During this time, the request remains open until either a message arrives or the timeout expires. As soon as the response returns, my code immediately starts the next request. This creates a continuous flow without sending unnecessarily many empty requests. Long polling is particularly suitable for local tests or simple setups without fixed server infrastructure.Webhook
For production use, a webhook is often the better choice. In this case, I register a publicly accessible HTTPS URL with Telegram. When a new message arrives, Telegram automatically calls this address and passes the message via POST. My backend can react immediately without constantly having to make its own requests. A valid SSL certificate is mandatory.
When a message has been received, my code checks whether the content matches „/wetter“. Only in this case is an action triggered. All other messages are ignored.
In the next step, my backend calls an external interface. In my case, I use the OpenWeatherMap API, which provides current weather data. With the coordinates for Düsseldorf, I send a request to the endpoint for current weather information. The response returns in JSON format and contains values such as temperature, weather description, humidity or wind speed.
I then format these data into readable text and send it back to the user via the sendMessage method. The user thus gets the impression of asking the bot directly about the weather, although in the background my backend calls the external API and returns the information.
In this way, a simple bot that only receives and returns messages becomes a small application with real added value. The process can be extended arbitrarily, for example by reading the city from the user input instead of fixed coordinates and passing it dynamically to the weather API.
With the steps shown, the foundation is laid for connecting a Telegram bot via the Bot API with external logic. The bot itself is only the interface that receives and forwards messages. The real intelligence lies in the backend, which decides whether to react to an input like /wetter and what the response should look like.
The principle is clear: fetch incoming messages, check whether they contain a relevant command, query external data sources and return the results. Everything else is mainly hard work in implementation, such as adding additional commands, structuring responses, adding error handling and making the code more robust. This already lays the foundation for developing a full-fledged application from a simple example.