ComfyUI is a node-based user interface for controlling and modifying AI models for image and video creation. Wan 2.1 is a text-to-video model (T2V) specifically developed for generating videos based on text inputs.
This guide provides step-by-step instructions on how to set up ComfyUI with Wan 2.1 locally. Each section explains the required components, why they are necessary, and how to install them correctly. This guide assumes Python 10 and a GPU with CUDA support.
Prerequisites: Python and CUDA
Install Python 10
Wan 2.1 requires Python 10. If it is not already installed, you can download and install it from the official Python website.
CUDA for GPU Acceleration
CUDA is an NVIDIA technology that performs computations on the GPU and is required for using PyTorch with GPU acceleration. The latest version can be downloaded from the NVIDIA website. Make sure your GPU is CUDA-compatible.
Download and Set Up ComfyUI
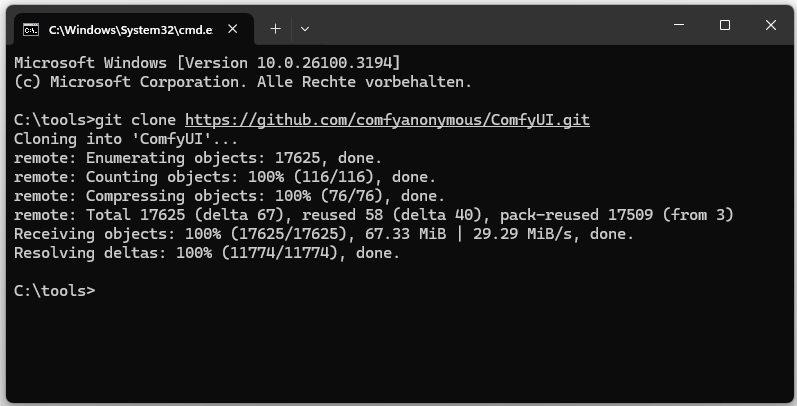
ComfyUI is installed via Git: git clone https://github.com/comfyanonymous/ComfyUI.git
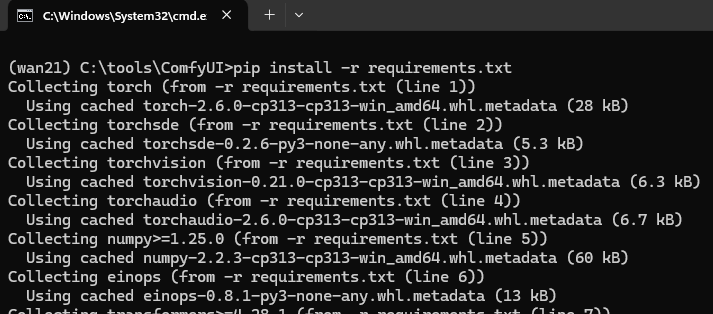
Then change into the directory and install the dependencies: pip install -r requirements.txt
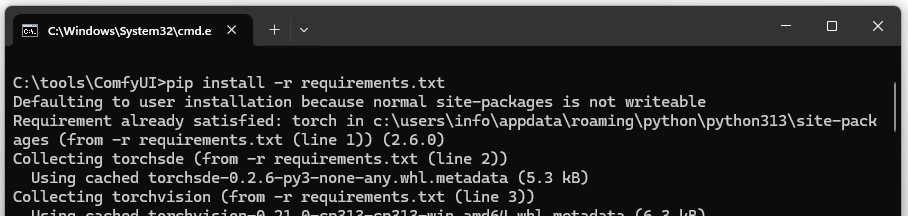
Installed dependencies:
- torch: The PyTorch library for neural networks.
- torchvision: Extensions for PyTorch, especially for images.
- torchaudio: Extensions for PyTorch for audio processing.
- numpy: Scientific computations.
- pillow: Image processing.
- Others: Necessary for ComfyUI functionalities.
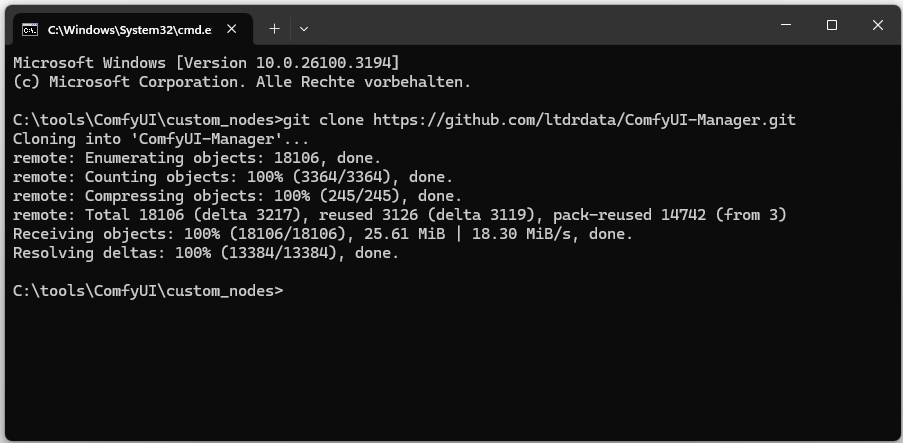
Install ComfyUI-Manager
ComfyUI-Manager is a plugin that simplifies the management of extensions:
git clone https://github.com/ltdrdata/ComfyUI-Manager.git
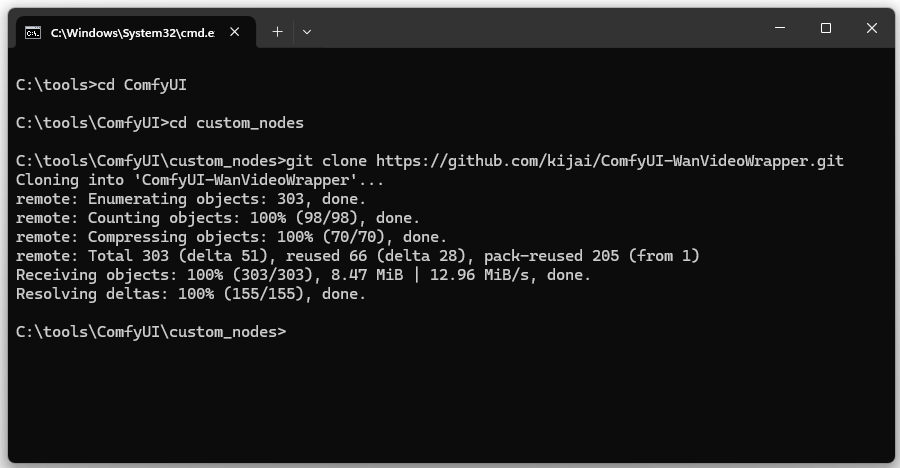
Install the Video Wrapper
The WanVideoWrapper integrates Wan 2.1 into ComfyUI and enables video generation:
git clone https://github.com/kijai/ComfyUI-WanVideoWrapper.git
Install missing wrapper dependencies: pip install -r requirements.txt

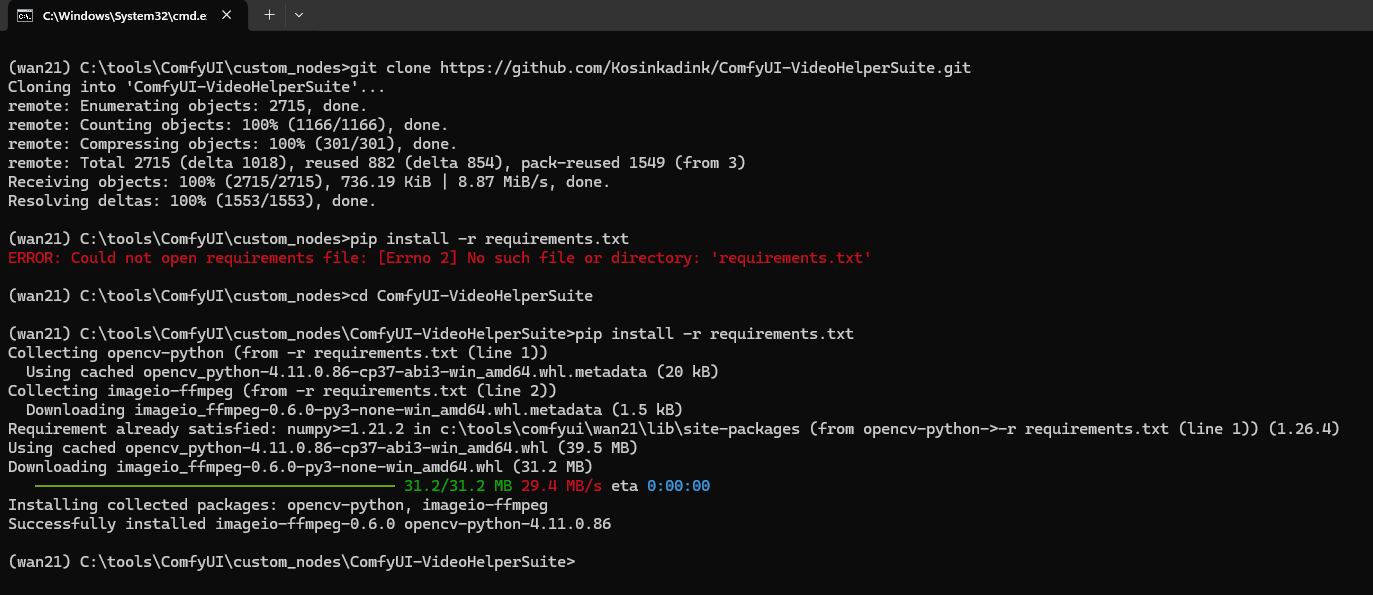
Install ComfyUI-VideoHelperSuite
An alternative video wrapper also used by ComfyUI for video generation: https://github.com/Kosinkadink/ComfyUI-VideoHelperSuite.git
Install missing dependencies: pip install -r requirements.txt
Install ComfyUI-HunyuanVideoWrapper
git clone https://github.com/kijai/ComfyUI-HunyuanVideoWrapper.git
Install missing dependencies: pip install -r requirements.txt
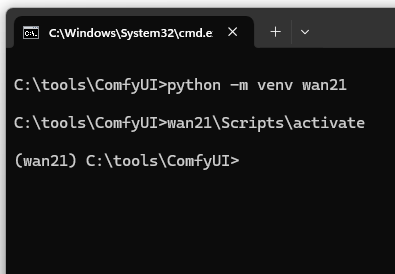
Create Virtual Environment for Wan 2.1
It is recommended to use a dedicated virtual environment for Wan 2.1:
python -m venv wan21
Then activate the environment:
wan21\Scripts\activate
Then install the missing dependencies: pip install -r requirements.txt
Install PyTorch with CUDA Support
First, determine if a PyTorch version with CUDA support already exists.
python -c “import torch; print(torch.version); print(torch.version.cuda)”

If a CPU version is installed, PyTorch should be uninstalled first:
pip uninstall torch torchvision torchaudio -y
Then install PyTorch with CUDA support:
pip install torch torchvision torchaudio –index-url https://download.pytorch.org/whl/cu126
Verify that the GPU is being used:
python -c “import torch; print(torch.cuda.is_available()); print(torch.cuda.get_device_name(0))”

Download Models for Image and Video Creation
Image Models
- DreamShaper: Specifically for artistic images.
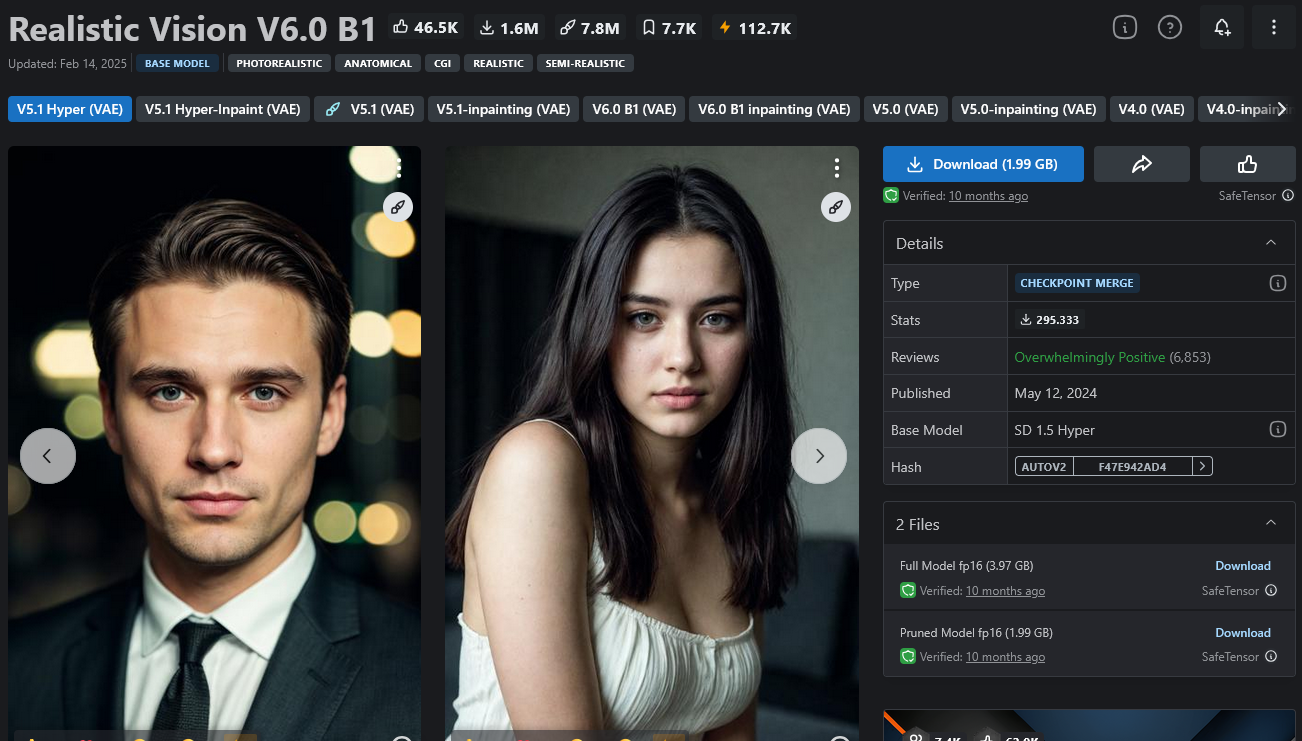
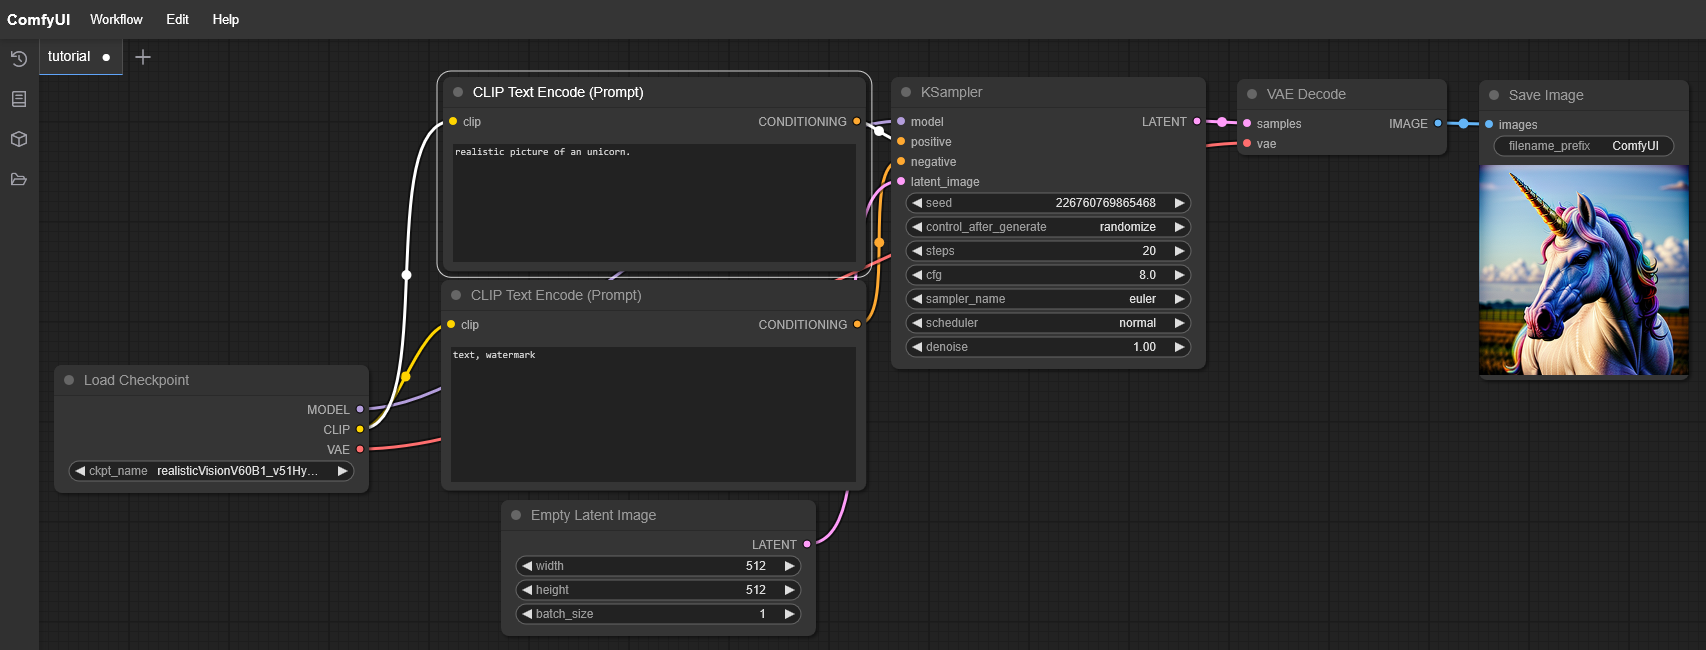
- Realistic Vision V6.0 B1: High-quality realistic images.
- Stable Diffusion XL (SDXL): General-purpose powerful AI model.
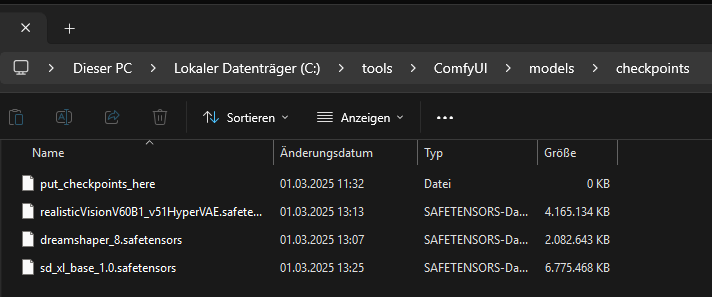
These models must be saved to C:\tools\ComfyUI\models\checkpoints.
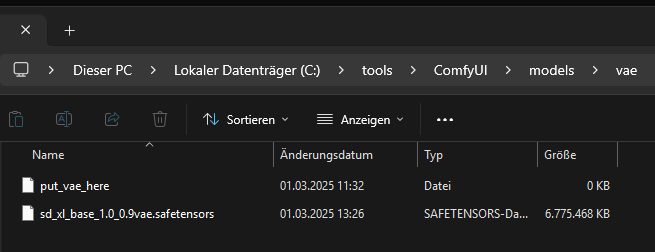
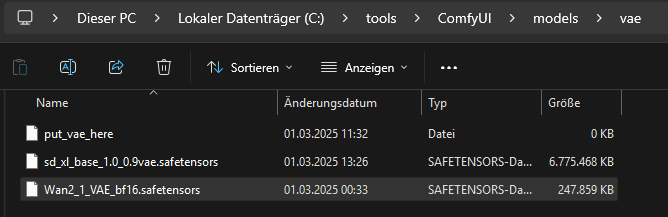
The VAE file for SDXL goes to C:\tools\ComfyUI\models\vae\.
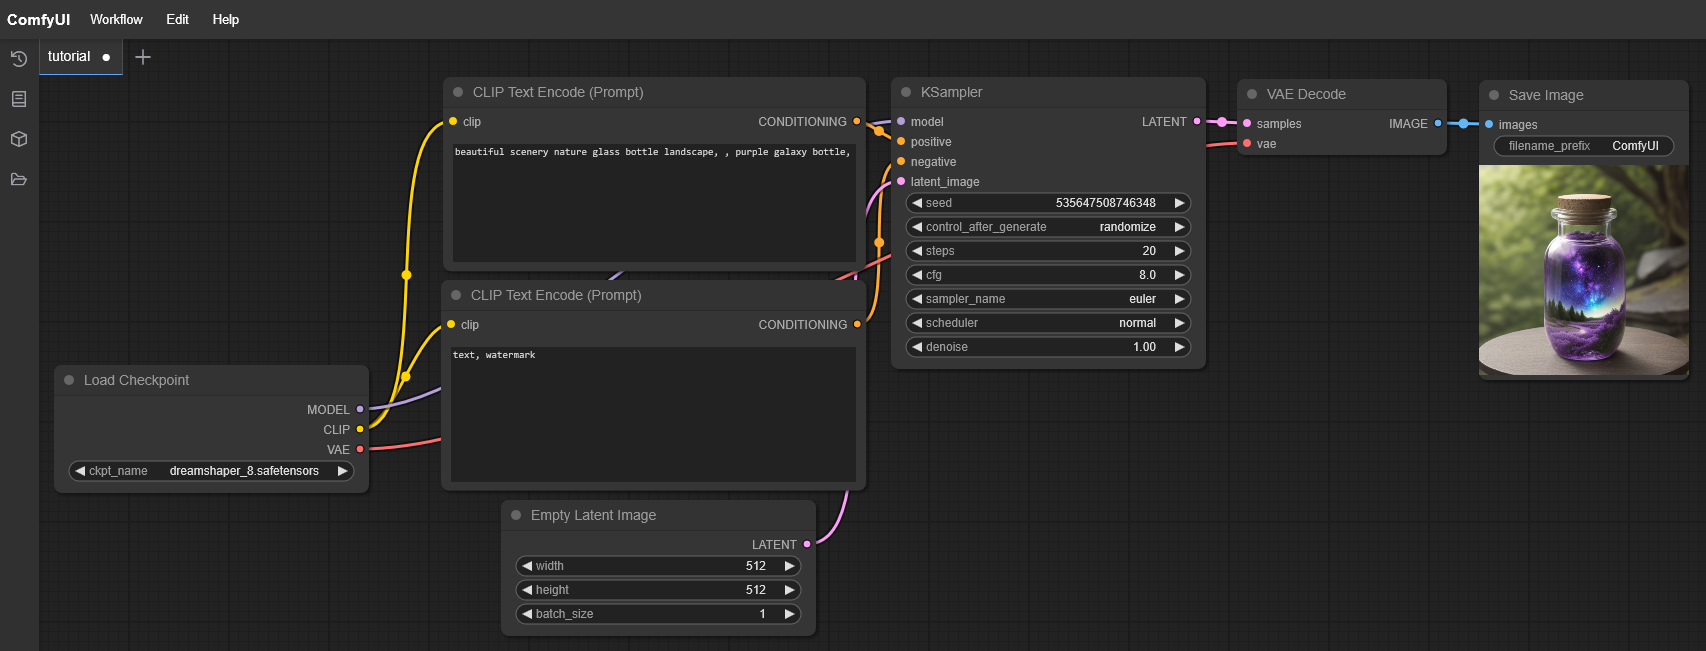
DreamShaper Model: https://civitai.com/models/4384/dreamshaper

Realistic Vision V6.0 B1 Model: https://civitai.com/models/4201/realistic-vision-v60
Stable Diffusion XL (SDXL) Model:
https://huggingface.co/stabilityai/stable-diffusion-xl-base-1.0/blob/main/sd_xl_base_1.0.safetensors
VAE:
https://huggingface.co/stabilityai/stable-diffusion-xl-base-1.0/blob/main/sd_xl_base_1.0_0.9vae.safetensors

All models must be moved to the folder C:\tools\ComfyUI\models\checkpoints.
The VAE file from Stable Diffusion XL to
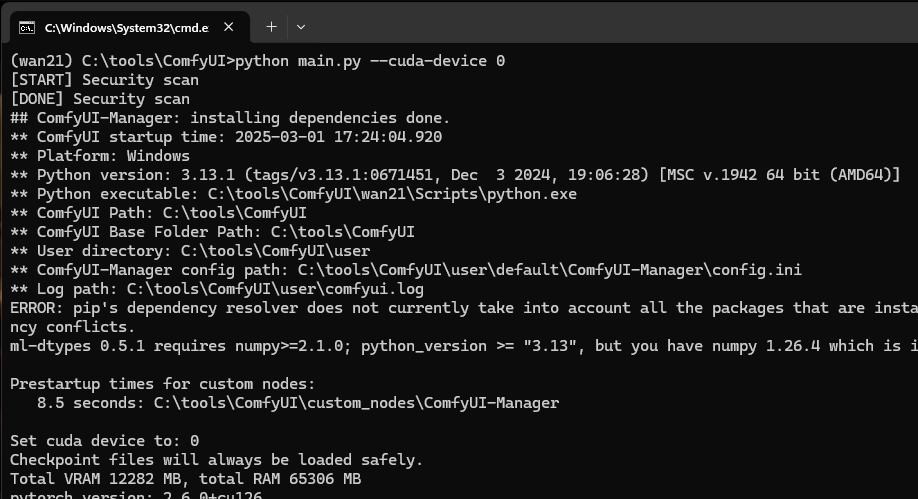
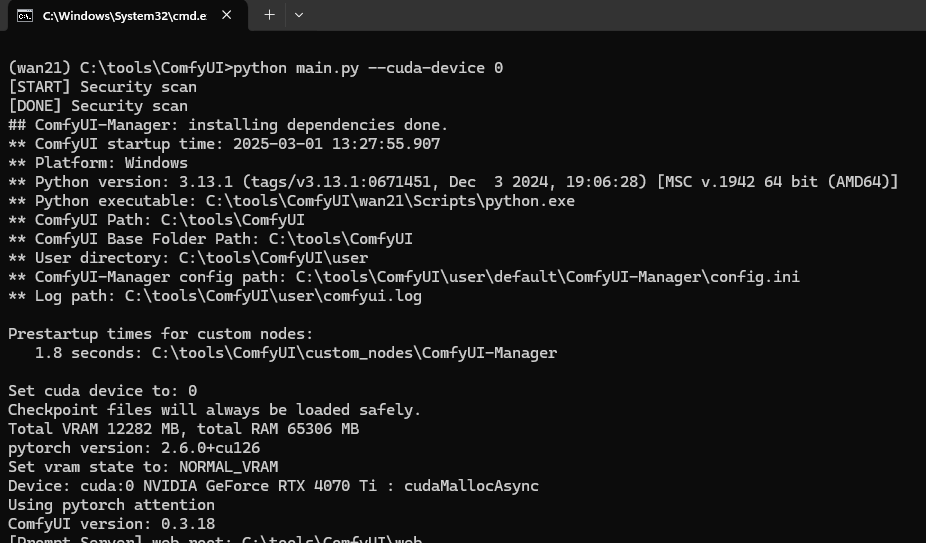
Start ComfyUI and Generate a First Image
python main.py –cuda-device 0
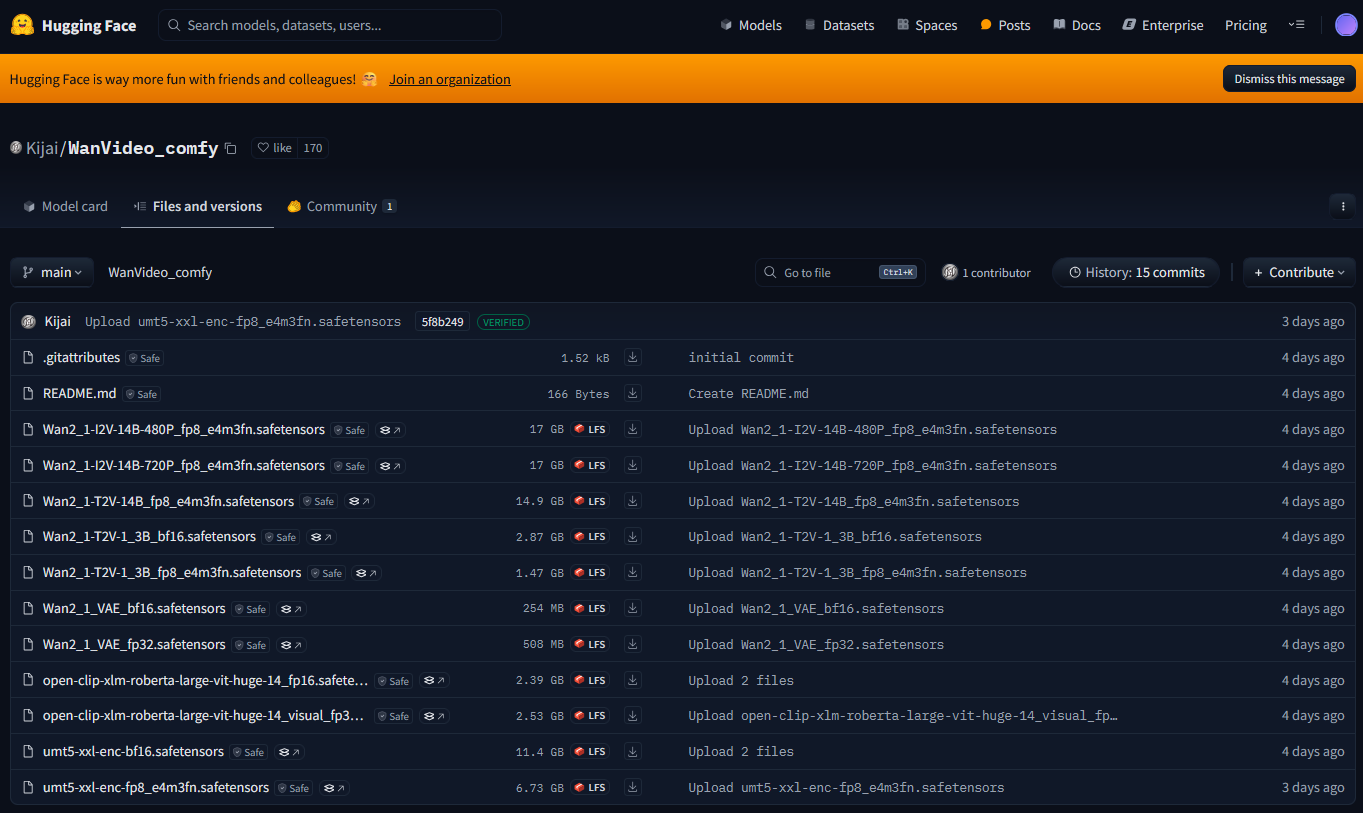
Video Models for Wan 2.1
Since we are using the ComfyUI-WanVideoWrapper, we use a video model trained for the wrapper: https://huggingface.co/Kijai/WanVideo_comfy/tree/main
Within the wrapper, we need the “models” folder. The folder is missing after installation.
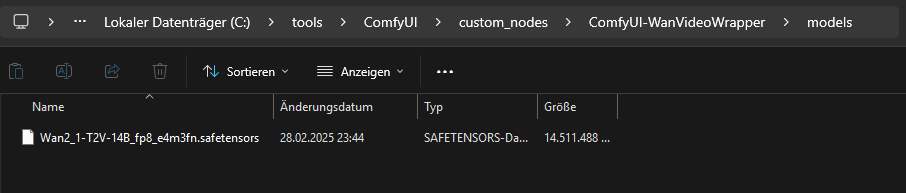
Inside the “models” folder, we then copy the text-to-video (T2V) model:
https://huggingface.co/Kijai/WanVideo_comfy/blob/main/Wan2_1-T2V-14B_fp8_e4m3fn.safetensors
„T2V“ stands for text-to-video. 14B parameters are a compromise between quality and computational speed. fp8 (8-bit) requires less VRAM than fp16 or fp32.
We copy the VAE file to C:\tools\ComfyUI\models\vae\
https://huggingface.co/Kijai/WanVideo_comfy/blob/main/Wan2_1_VAE_bf16.safetensors
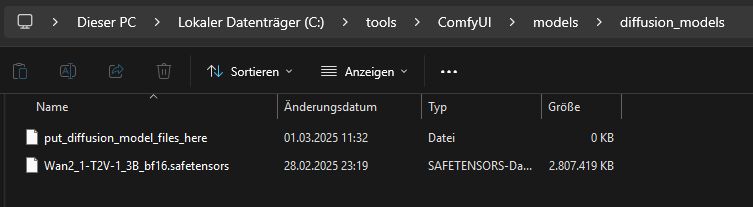
The diffusion model is copied to C:\tools\ComfyUI\models\diffusion_models\
https://huggingface.co/Kijai/WanVideo_comfy/blob/main/Wan2_1-T2V-1_3B_bf16.safetensors
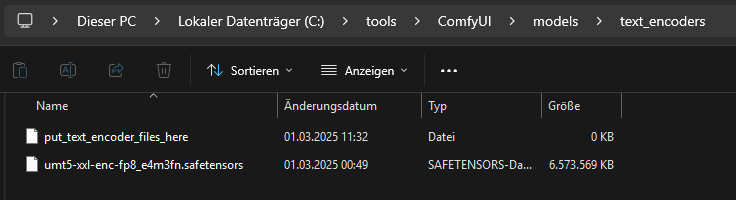
For the text encoder, we use: https://huggingface.co/Kijai/WanVideo_comfy/blob/main/umt5-xxl-enc-fp8_e4m3fn.safetensors
We copy this file to “C:\tools\ComfyUI\models\text_encoders\”.
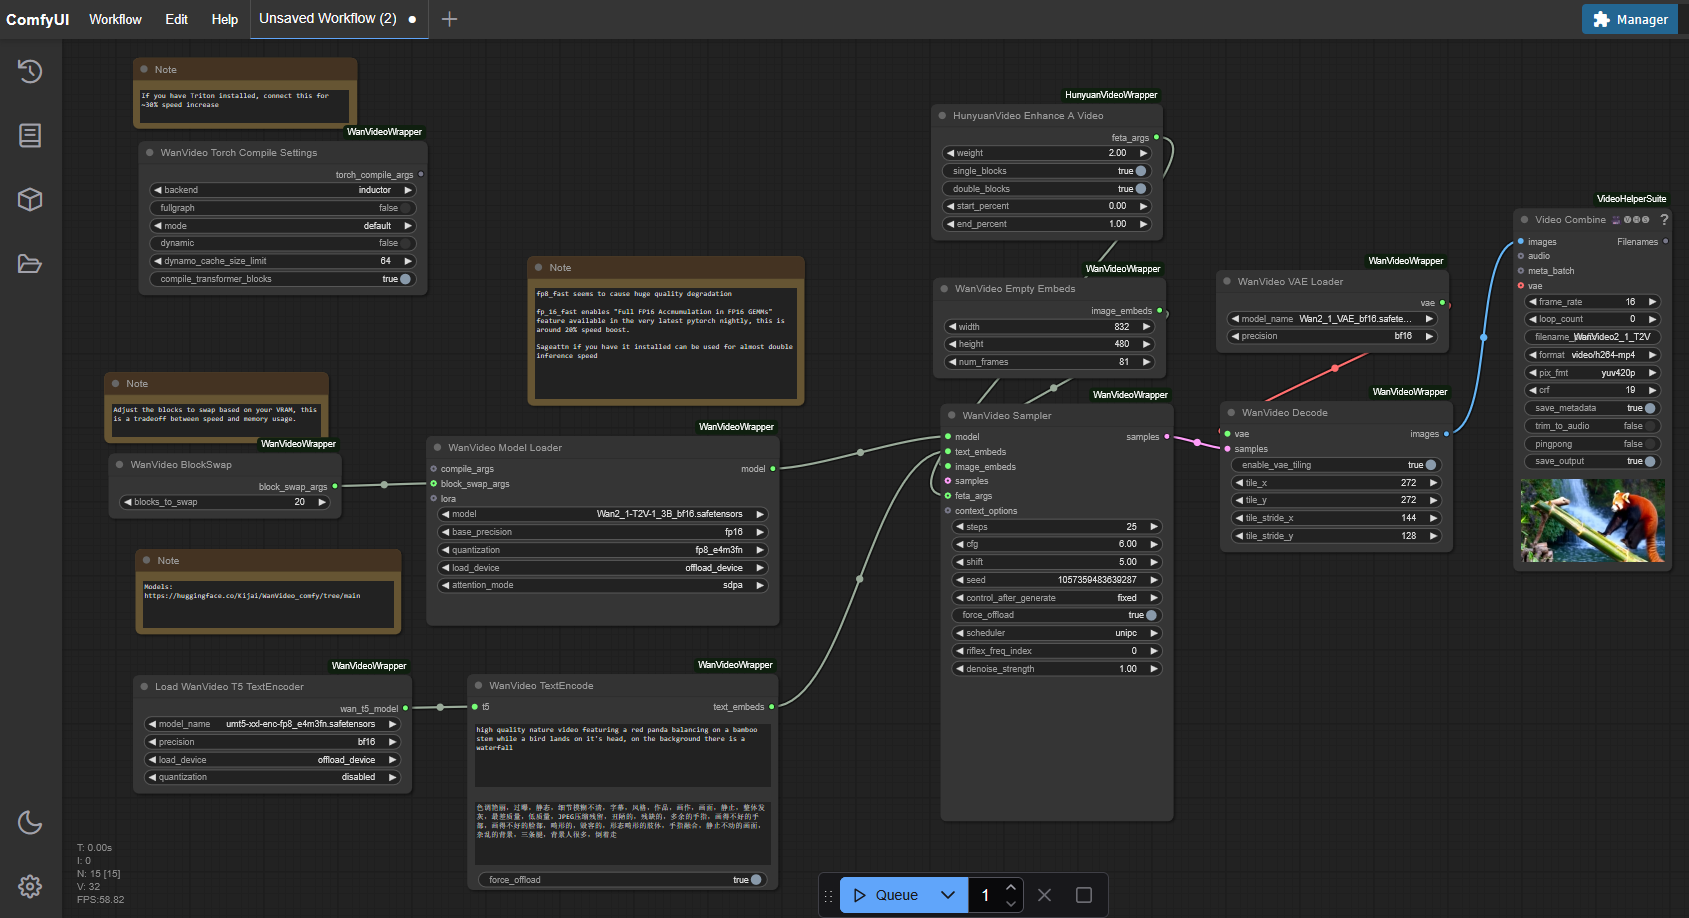
Set Up Workflow for Wan 2.1
To use the new Wan 2.1 model in ComfyUI, we need the appropriate workflow: https://github.com/kijai/ComfyUI-WanVideoWrapper/blob/main/example_workflows/wanvideo_T2V_example_01.json
Copy the JSON content and paste it into ComfyUI as a new workflow.
Start and Test ComfyUI
Then you can start ComfyUI:
python main.py –cuda-device 0